How to use Eclipse IDE for Java EE Developers
- Details
- Written by Nam Ha Minh
- Last Updated on 07 August 2019 | Print Email
1. Download and Install Eclipse
Eclipse IDE is available on major operating systems: Windows, Mac OS X and Linux. It supports both 32 and 64-bit CPU architecture. Eclipse IDE is a Java-based application so it requires JDK/JRE installed first.You can download and install Eclipse in one of two ways: using an installer or download a ZIP package. Download and Install Eclipse IDE using Eclipse Installer:In this way, you download a small program called Eclipse Installer. Run this program and choose a package you want to install: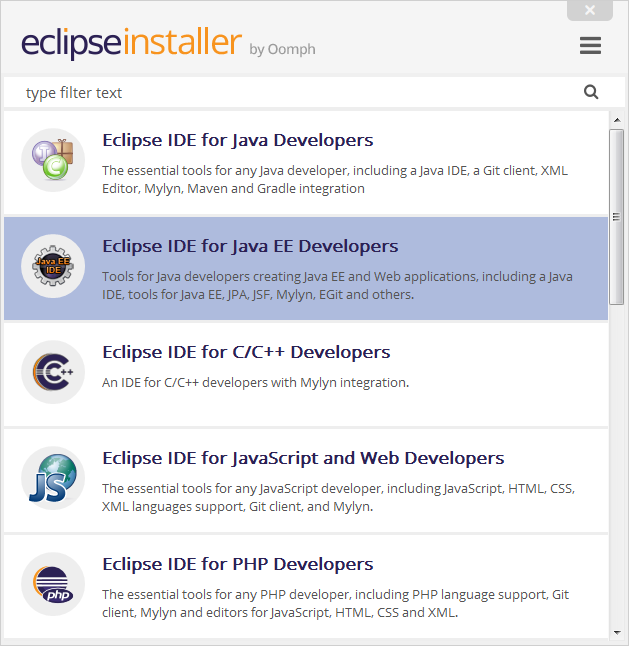
Download 64-bit Eclipse Installer
Note that you need to choose a mirror site to download from.Install Eclipse IDE by downloading a ZIP package:In this way, you download a zip/tar file for a specific package and extract the file on your computer. Run the eclipse.exe program in the eclipse directory to launch the IDE: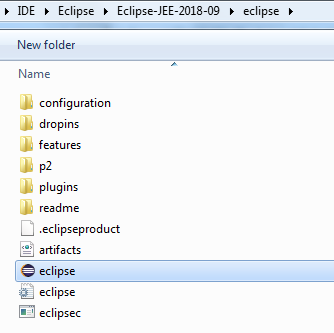 And if you want to have shortcuts on desktop and in Programs menu, you have to manually create them. Here’s the link to download the package Eclipse IDE for Java EE Developers:
Download Package Eclipse IDE for Java EE Developers
Note: Eclipse IDE depends on JDK/JRE so make sure that you have JDK/JRE installed on your computer. and configure the JAVA_HOME and PATH environment variables properly (See: How to set environment variables for Java using command line).The above package requires Java 8 or newer.2. Workbench
A window instance of the IDE is referred to as the Workbench. A workbench window consists of one or more Perspectives. And a perspective contains Editors and Views.You can open multiple workbench windows simultaneously (via menu Window > New Window). For example, when you are working on two projects - you can open two workbenches - each for one project. But all workbenches are used for only one Workspace.3. Workspace
Workspace is a directory on your computer - where the projects are stored. You must choose a workspace when starting Eclipse: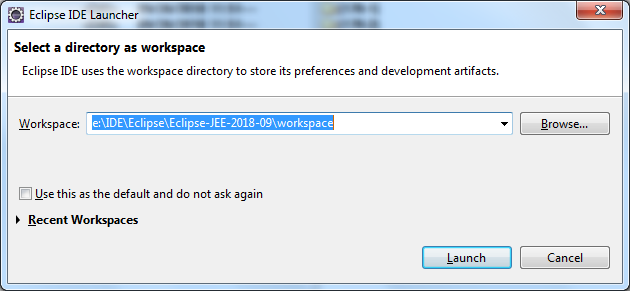 There can be one or more projects in a workspace - which means you can work with multiple projects simultaneously. However, you can work in one only workspace in a working session of Eclipse. And to switch to another workspace, click File > Switch Workspace from the main menu.Eclipse stores preferences separately for each workspace in the .metadata directory in the workspace’s root. That means each workspace has its own settings for layouts, JDKs, servers, etc.So you use a workspace to group related projects that share common settings. For example, you can create a workspace (create a directory) for developing an application that consists of several projects; a workspace for Swing projects; a workspace for Java EE projects; a workspace for Spring projects, and so on.The following screenshot shows multiple projects listed in the current workspace:
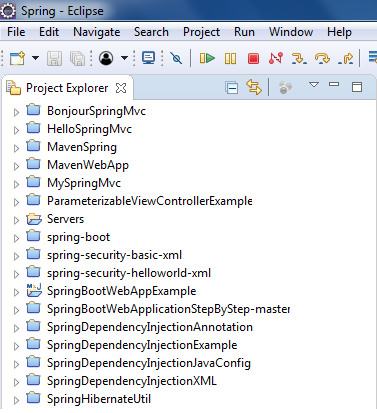
4. Perspectives
In Eclipse, a perspective provides initial layout that is organized to help programmers accomplish a task or work. Each perspective contains a different set of editors and views. For example, the Java perspective contains the following editors and views:- Java Editors: for editing Java source files.
- Package Explorer: allows you to navigate the projects.
- Outline: displays the structure of source file in the active editor.
- Problems: shows errors, warnings and problems detected.
- Javadoc: allows you to preview Javadoc of a class, method, field…
- Declaration: shows declaration statement for the variable at the cursor position.
- Task List: displays tasks downloaded from a popular bug tracker tool like Bugzilla, Mantis…
The following screenshot is of a Java perspective: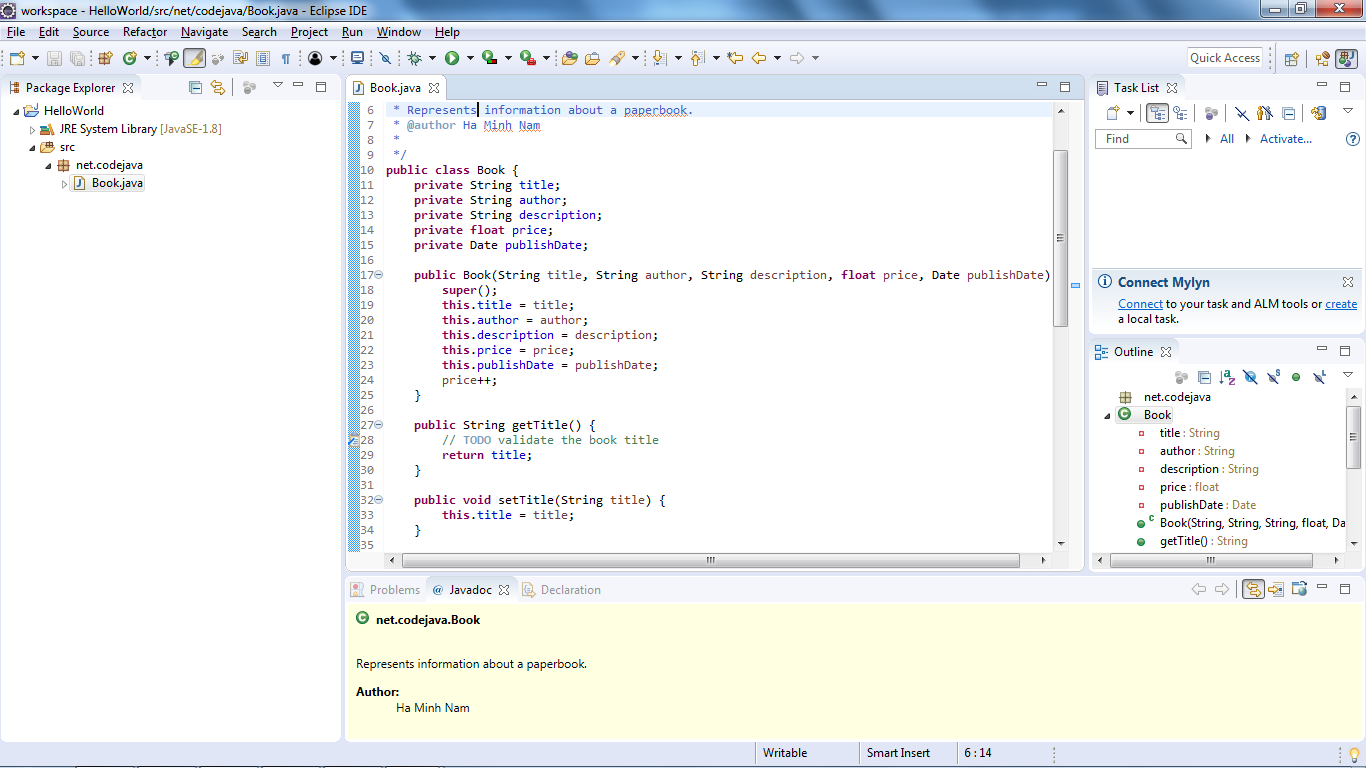 When you are working in the perspective, you and open more editors and views when needed, but initially a perspective contains a fixed set of editors and views. The toolbars and menu items are also changed according to the purpose of the current active perspective.And this is the Debug perspective that allows you to debug a running program:
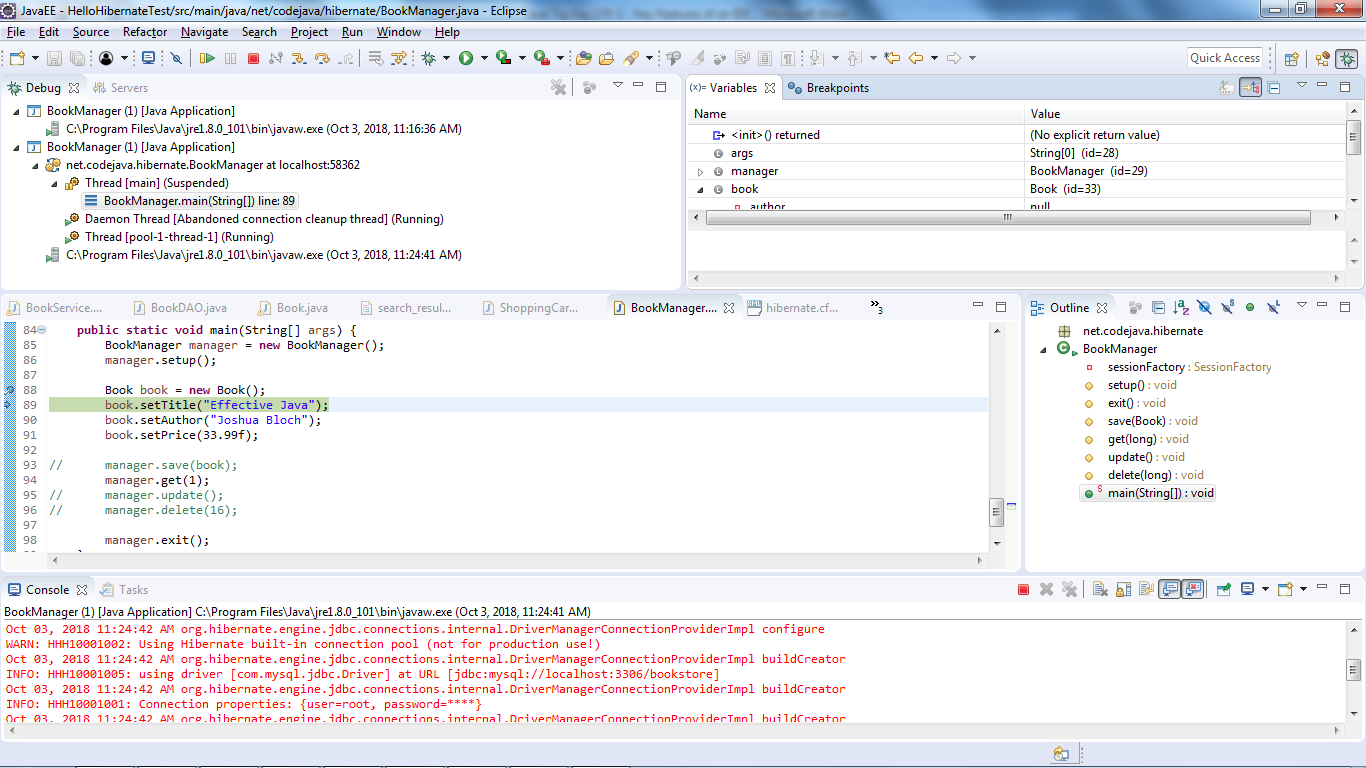 By default, Eclipse provides several perspectives, as shown below:
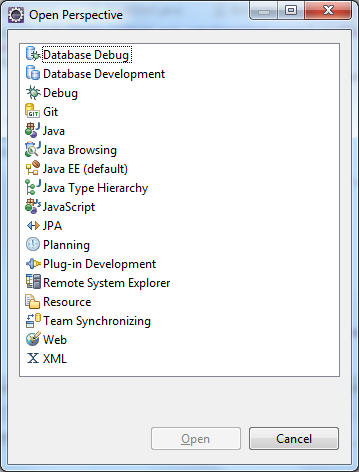 You can see this list when opening a perspective from the menu Window > Perspective > Open Perspective > Other…For Java development, you use only few perspectives most of the time, e.g. Java, Java EE and Debug. If you use version control, then you will frequently switch to Git or Team Synchronizing perspectives.In Eclipse, you can switch among opened perspectives by clicking on the perspective icons in the toolbar or by pressing the shortcut Ctrl + F8. You can open perspectives in the same workbench window (default) or in new windows.Note that different perspectives can have different views but they all share the same editors.You can customize a perspective, e.g. arrange views and editors in the way you like, and save it as your own perspective.To reset the active perspective to its default layout, click Window > Perspective > Reset Perspective…
 5. Editors
An editor allows you to edit a source file. For example, when you double-click a .java file in the Project Explorer/Package Explorer view, a Java editor is opened in the editor area which is usually at the center of the workbench: Notice the gray border at the left margin of the editor area may show small icons to indicate errors, warnings, problems and information at the corresponding line.Each type of find can be opened with the associated editor. If Eclipse doesn’t have associated editor for a file type, it will try to open using an external program available in the operating system.There can be multiple editors opened and they are stacked in the editor area, but only one editor is active at a time. The name of the file is displayed in the title bar of the editor, and the asterisk (*) indicates that the editor has unsaved changes.In Eclipse, you can use the shortcut Ctrl + F6 to switch among editors.
 6. Views
A view allows you to navigate the information in the workbench. For example, in the Project Explorer view, you can navigate the structure of projects in a workspace: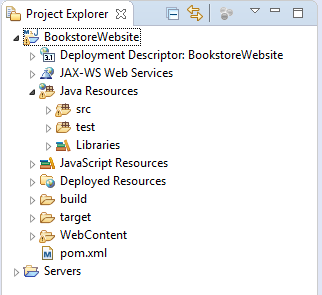 A view also provides alternative representation to support an editor. For example, the Outline view displays structural elements of the source file in the active editor. So if you are editing a .java file, it displays the classes, fields and methods of that file:
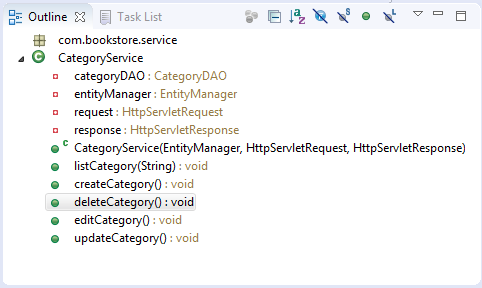 Using the Outline view, you can quickly jump to an element in the source file.You can resize, move, minimize and maximize views in a perspective. A view can be detached from the workbench and becomes a floating window (right-click on a view’s title bar and click Detach).A view has a pull-down menu that offers actions allowing you to customize the representation of the view. You can access this menu by clicking on the down arrow at the top right corner of the view. For example, the following screenshot shows the pull-down menu of the Project Explorer view:
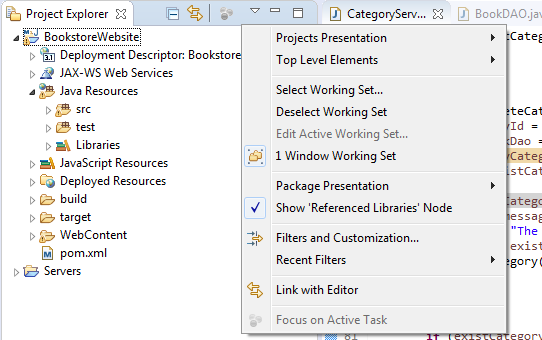 To open a view in Eclipse, click Window > Show View. And to switch among opened views, press Ctrl + F7.
 7. Toolbars
The last visual component I want to tell you in Eclipse is the toolbars. There are 4 kinds of toolbars in Eclipse:- Main toolbar: appears below the main menu, the main toolbar consists of buttons that are grouped into different sections: Open/create/save project, Run, Debug, Navigation, Search…The buttons vary depending on the current perspective.
a
- Individual view toolbar: a view can have its own toolbar in its title bar area or at the top-right corner. For example, you can see the toolbar of the Servers view in this screenshot: - Perspective switcher toolbar: this toolbar contains buttons that allow you to switch among opened perspectives in the workbench. You can see this toolbar at the right side of the main toolbar:
 It also contains a button (the left most one) that allows you to open the list of all perspectives.- View stack toolbar: this is a special toolbar which appears when you minimize a view in a view stack. The icons on this toolbar allow you to open an individual view in the stack. For example, here’s the toolbar appears when the Console view is minimized:
 So far you have got familiar with the key concepts and components in Eclipse IDE. By understanding them, you know how to use the IDE properly and effectively.
 Other Eclipse Tutorials:
- How to import existing projects into Eclipse workspace
- How to create, build and run a Java Hello World program with Eclipse
- How to create, deploy and run Java Servlet in Eclipse
- How to generate JAR file in Eclipse
- How to create WAR file for Java web application in Eclipse
- How to create Ant build file for existing Java project in Eclipse
- How to generate Javadoc in Eclipse
- How to create Java web project with Maven in Eclipse
- 25 Eclipse Shortcut Keys for Code Editing
- How to Add Copyright License Header for Java Source Files in Eclipse
- How to monitor HTTP requests and responses using TCP/IP Monitor in Eclipse
About the Author:
 Nam Ha Minh is certified Java programmer (SCJP and SCWCD). He started programming with Java in the time of Java 1.4 and has been falling in love with Java since then. Make friend with him on Facebook and watch his Java videos you YouTube.