How to create Ant build file for existing Java project in Eclipse
- Details
- Written by Nam Ha Minh
- Last Updated on 07 August 2019 | Print Email
Sometimes we need to build our Java projects from outside Eclipse IDE, by executing an Ant build script from command line. For example, when we made some very little changes to the project and need to re-build it without opening Eclipse (which may take times and huge memory for the bulky IDE while we are busy on other stuffs). Another typical case is bug-fixing, re-configuration and re-deployment in a production environment (i.e. a web application running on a server) in which we cannot use an IDE to re-built the project. Having only project’s source code with all necessary jar files, the only missing thing is an Ant build file from which we can build the project from command line independently of Eclipse.
Although the build system in Eclipse does not based on Ant, Eclipse offers a function that lets us creating Ant build script for the project manually.
Suppose we are working on a Java web application project named “UploadServlet30” in Eclipse. To create Ant build file for this project, follow these steps:
- Select File > Export from main menu (or right click on the project name and select Export > Export…).
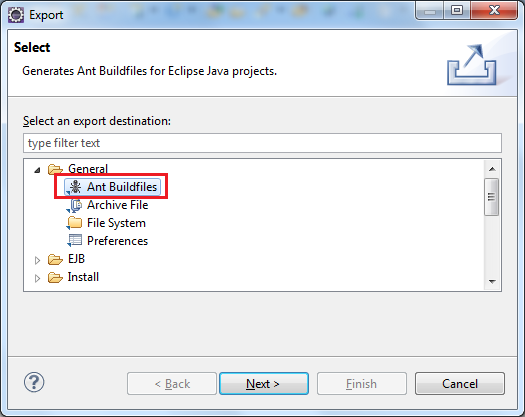
- In the Export dialog, select General > Ant Buildfilesas follows:
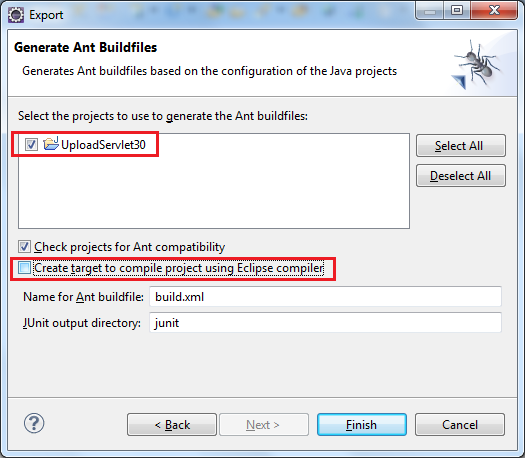
- Click Next. In the Generate Ant Buildfilesscreen:
- Check the project in list.
- Uncheck the option "Create target to compile project using Eclipse compiler" because we want to create a build file which is independent of Eclipse.
- Leave the Name for Ant buildfile as default: build.xml
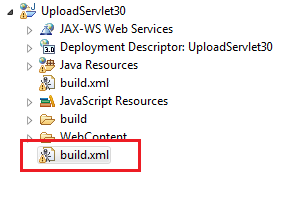
- Click Finish, Eclipse will generate the build.xmlfile under project’s directory as follows:
Double click on the build.xml file to open its content in Ant editor:
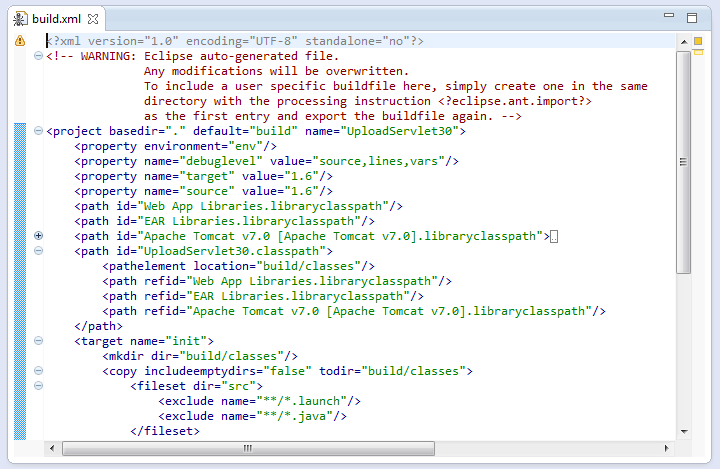
We can see that Eclipse generated a complete Ant build file with all libraries referenced by the project and standard build targets such as init, clean, build, etc. However, Eclipse did not generate a target to create WAR file for this web application, so we have to add it manually. Add the following code snippet at the end of the build.xml file, just above the closing tag </project>:
<target name="war" description="Bundles the application as a WAR file" depends="clean, build">
	<mkdir dir="WebContent/WEB-INF/classes"/>

	<copy includeemptydirs="false" todir="WebContent/WEB-INF/classes">
    		<fileset dir="build/classes">
			<include name="**/*.class"/>
    		</fileset>
	</copy>

	<war destfile="UploadServlet30.war"
		basedir="WebContent"
		needxmlfile="false">
	</war>
</target>
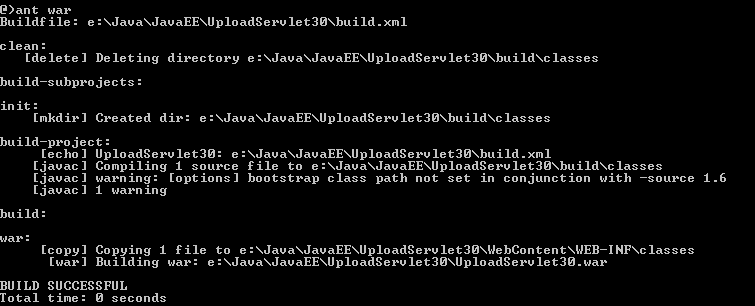
Save the file. Now switch to a command line prompt, change current directory to the project’s directory, and type the following command to compile and build WAR file for the project:
ant war
Output:
NOTE: You must have Ant installed and configured properly to execute the above command. This Ant installation is separate from the one bundled with Eclipse.
Related Tutorials:
Other Eclipse Tutorials:
- How to use Eclipse IDE for Java EE Developers
- How to create, build and run a Java Hello World program with Eclipse
- How to generate Javadoc in Eclipse
- How to create WAR file for Java web application in Eclipse
- How to create JAR file in Eclipse
- How to pass arguments when running a Java program in Eclipse
- How to create Java web project with Maven in Eclipse
- 25 Eclipse Shortcut Keys for Code Editing
- How to Add Copyright License Header for Java Source Files in Eclipse
About the Author:
 Nam Ha Minh is certified Java programmer (SCJP and SCWCD). He began programming with Java back in the days of Java 1.4 and has been passionate about it ever since. You can connect with him on Facebook and watch his Java videos on YouTube.