How to Completely Uninstall IntelliJ IDEA from Windows
- Details
- Written by Nam Ha Minh
- Last Updated on 31 October 2021 | Print Email
1. Remove IntelliJ IDEA using Uninstaller
On Windows, click Start menu > Settings, and click Apps in Settings window. Under Apps & Features, look for IntelliJ IDEA, and click Uninstall: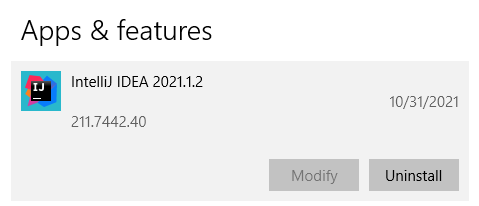 Click Uninstall again to confirm. You will the Intellij IDEA uninstaller:
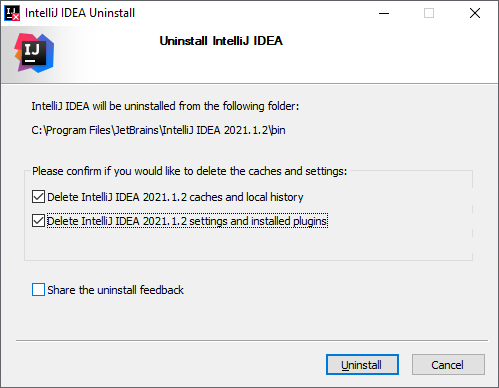
2. Uninstall IntelliJ IDEA installed from Zip archive
If you have an instance of IntelliJ IDEA extracted from ZIP archive, just delete the whole directory. And then you have to manually delete some folders that store settings and caches.With IntelliJ IDEA 2020.1 or newer. Delete these folders:%APPDATA%\JetBrains\<product><version>
%LOCALAPPDATA%\JetBrains\<product><version>
Example:C:\Users\Username\AppData\Roaming\JetBrains\IntelliJIdea2021.2
C:\Users\Username\AppData\Local\JetBrains\IntelliJIdea2021.2
With IntelliJ IDEA 2019.3 or older, delete this folder:%USERHOME%\.<product><version>\config
Example:C:\Users\Username\.IntelliJIdea2019.3\config
That’s how to completely uninstall IntelliJ IDEA from Windows computer. To see the steps in action, I recommend you watch the video below:Other Uninstallation Guides:
- How to Uninstall NetBeans IDE completely from Windows
- How to Completely Uninstall Eclipse IDE from Windows computer
About the Author:
 Nam Ha Minh is certified Java programmer (SCJP and SCWCD). He began programming with Java back in the days of Java 1.4 and has been passionate about it ever since. You can connect with him on Facebook and watch his Java videos on YouTube.
Comments