In this Java tutorial, we’re going to show you how to create your first Java program using NetBeans - the official IDE for Java 8. NetBeans is a free and open source Java IDE.You will be guided to download and install NetBeans IDE. Then create a Java project and write some Java code to print “Hello World” and run the program.Before installing NetBeans IDE, make sure you installed Java Development Kit (JDK) on your computer first. If not, follow this tutorial to install JDK.
1. Download and Install NetBeans IDE
Go to https://netbeans.org/downloads to download the latest version of NetBeans IDE. You will see the following page:On this download page you see different download bundles. And for Java development only, we can choose either Java SE or Java EE. We’d recommend you to choose Java EE which supports comprehensive Java development (Java EE includes Java SE).So click the Download button in the column Java EE to download NetBeans installer for Java EE development. The file name of the installer program is something like netbeans-8.2-javaee-windows.exe (on Windows).Click on the installer file to start installing NetBeans IDE. You will be asked to install GlassFish and Apache Tomcat server:
In this tutorial, you don’t need any server. However you will need them later so let check both, and click Next.In the next screen, check ‘I accept the terms in the license agreement’:Click Next.In the next screen, choose the installation directory and JDK version for the IDE:You can keep the defaults and click Next.In the next screen, choose installation directory and JDK version for GlassFish server:Click Next to see the summary:And click Install to start installing NetBeans with GlassFish and Tomcat servers. Wait until the setup complete:Click Finish.Now you can start NetBeans IDE from the start menu. The splash screen appears:And you should see the home screen of NetBeans:
2. Create Your First Java Project
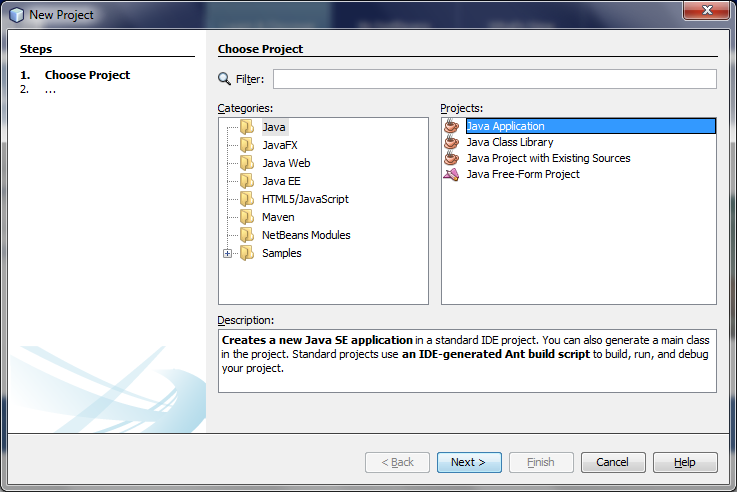
Now, let’s create a Java project using NetBeans IDE. Go to menu File > New Project…Under the New Project dialog, choose Java application as shown in the following screenshot:Click Next to advance to the next step. In the New Java Application screen, type Project Name, specify Project Location and the main class:
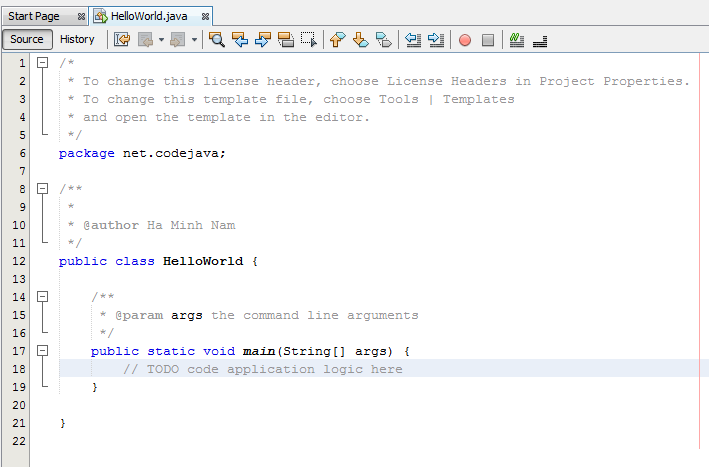
Note that we check the option Create Main Class to generate the main class for the application. Here we specify the package name net.codejava before the class name HelloWorld.Click Finish. NetBeans create the project with a main class very quickly:
3. Write Your First Java Code
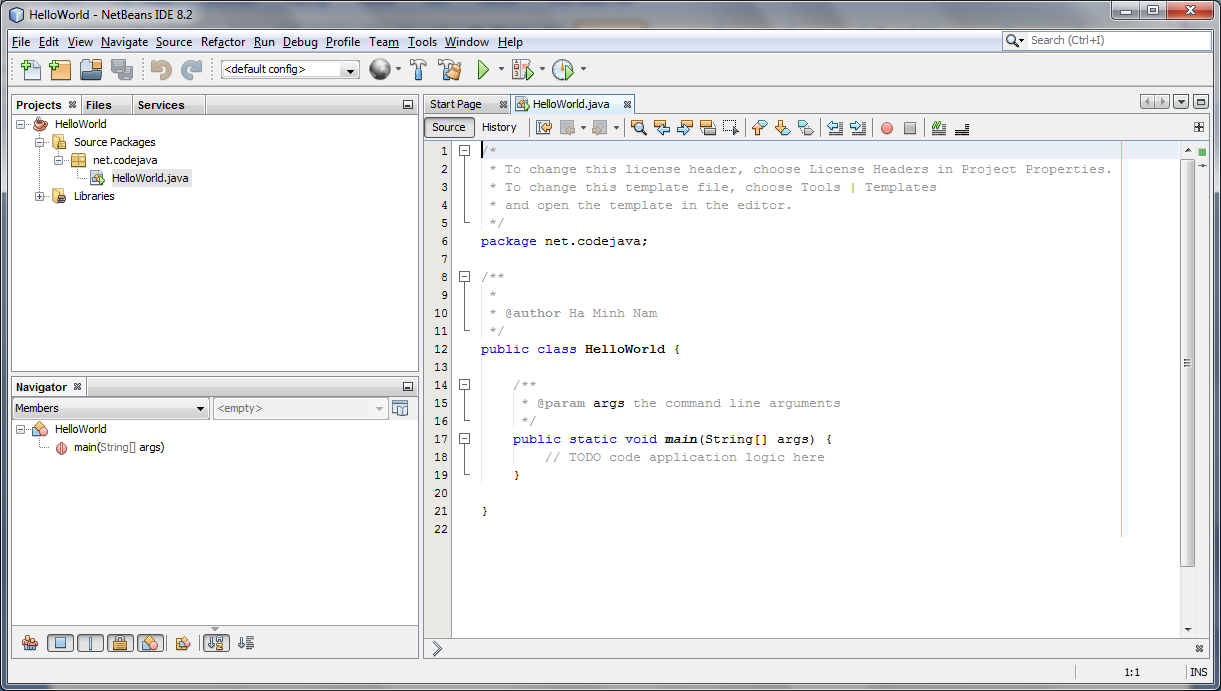
You can see a code editor for the HelloWorld.java file as shown in the following screenshot:The method main() is the main entry to a Java application. All Java programs start from the main() method. Now, let’s type some code in this method to print “Hello World Java!” on the screen:
System.out.println("Hello World Java!");
The whole program should look like this:NetBeans is very smart, as it compiles the code instantly while you are typing the code. So if there’s any error, the IDE will inform you by underling the errors with red color, as shown in the following screenshot:If there’s no red marks like this, the code is fine and we’re ready to run the program.
4. Run Your First Java Program
To run the HelloWorld program above, there are several ways:
Go to menu Run > Run Project <ProjectName>
Click Run Project icon in the toolbar.
Press F6 key.
Right click in the code editor, and select Run File (or press Shift + F6).
You should see the output of this program like this:You see, it prints “Hello World Java!”. Congratulations, you have successfully created and run your first Java program with NetBeans IDE. You can modify the program and run again to experiment more.Next, let study about classes and objects in Java with this article: Understand Classes and Objects in Java. You can also watch the video version below:
Nam Ha Minh is certified Java programmer (SCJP and SCWCD). He began programming with Java back in the days of Java 1.4 and has been passionate about it ever since. You can connect with him on Facebook and watch his Java videos on YouTube.
When I click the program my command window pops up and quickly disappears. How do I actually see this. My build was successful so my code works but I want to see it say "Hello World!" for verification.
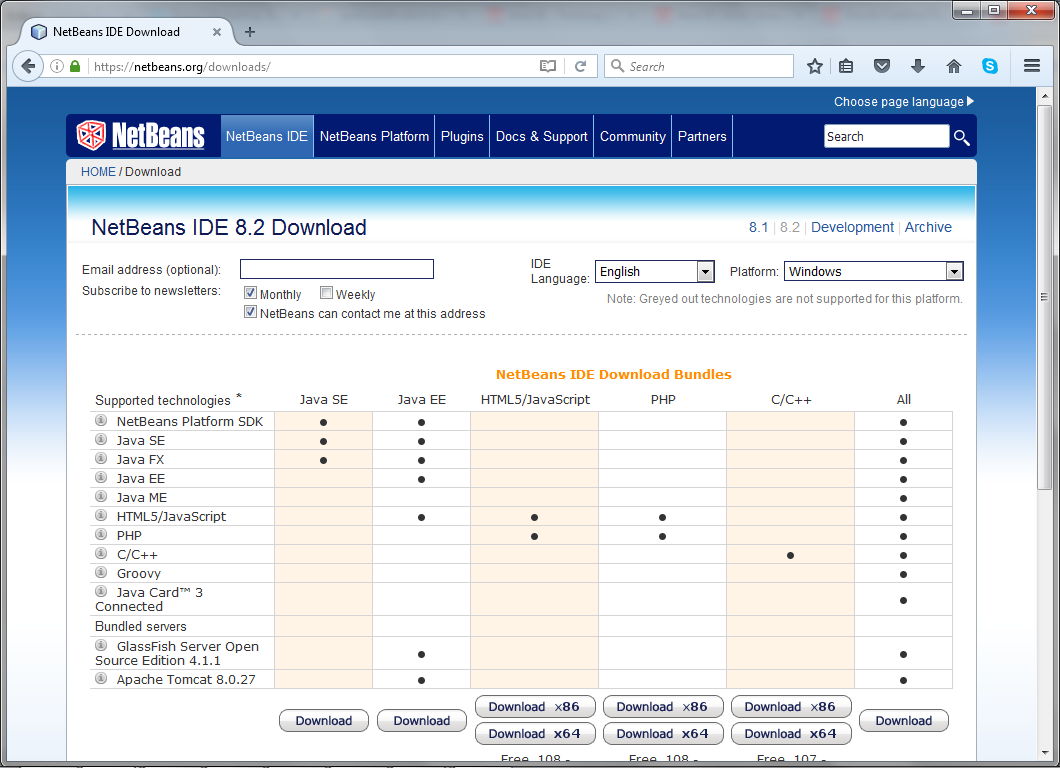 On this download page you see different download bundles. And for Java development only, we can choose either Java SE or Java EE. We’d recommend you to choose Java EE which supports comprehensive Java development (Java EE includes Java SE).So click the Download button in the column Java EE to download NetBeans installer for Java EE development. The file name of the installer program is something like netbeans-8.2-javaee-windows.exe (on Windows).Click on the installer file to start installing NetBeans IDE. You will be asked to install GlassFish and Apache Tomcat server:
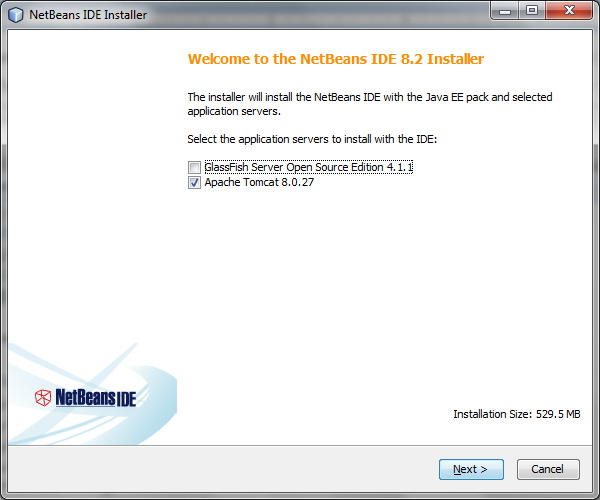 In this tutorial, you don’t need any server. However you will need them later so let check both, and click Next.In the next screen, check ‘I accept the terms in the license agreement’:
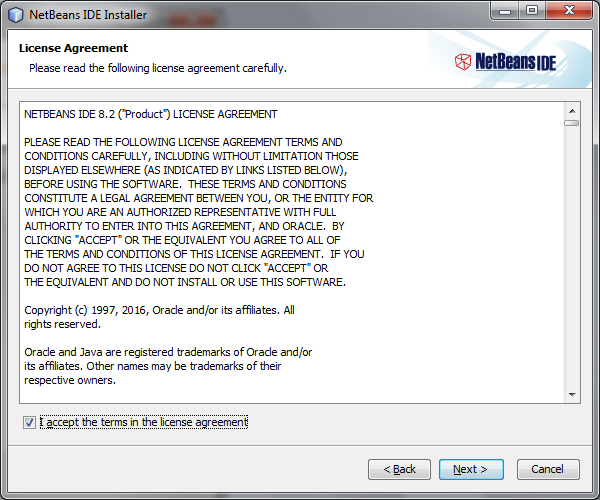 Click Next.In the next screen, choose the installation directory and JDK version for the IDE:
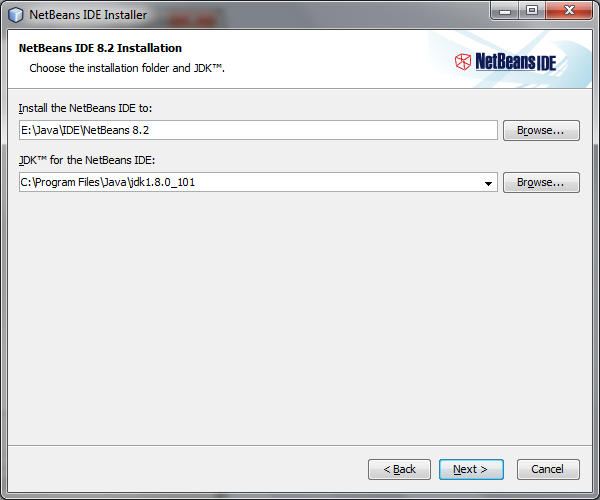 You can keep the defaults and click Next.In the next screen, choose installation directory and JDK version for GlassFish server:
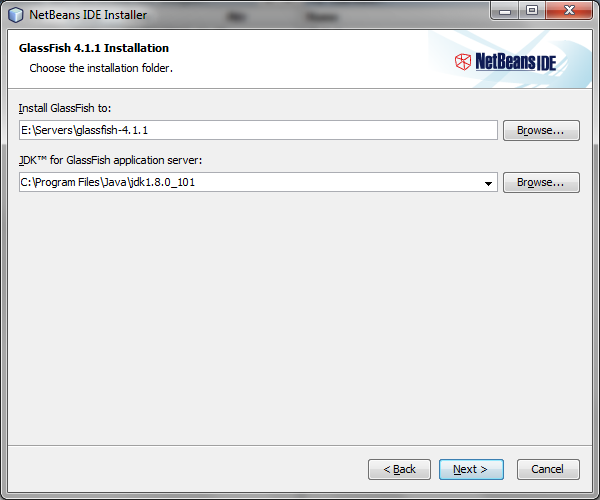 Click Next to see the summary:
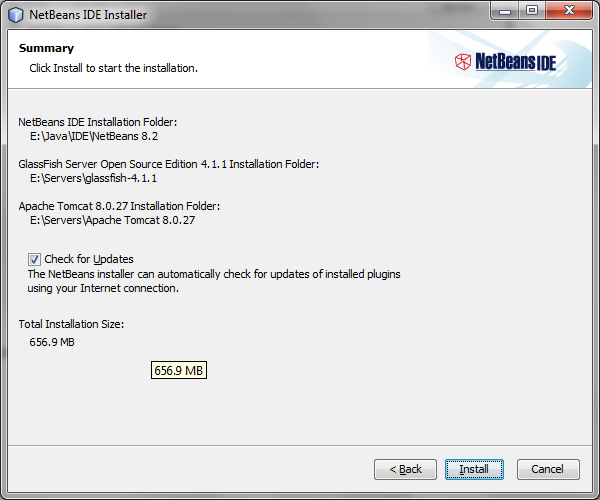 And click Install to start installing NetBeans with GlassFish and Tomcat servers. Wait until the setup complete:
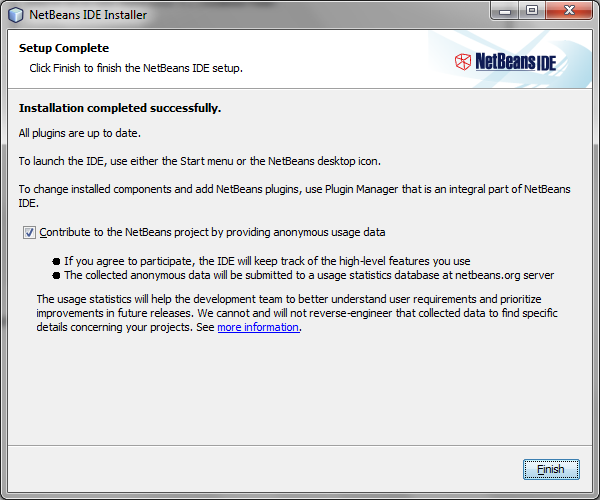 Click Finish.Now you can start NetBeans IDE from the start menu. The splash screen appears:
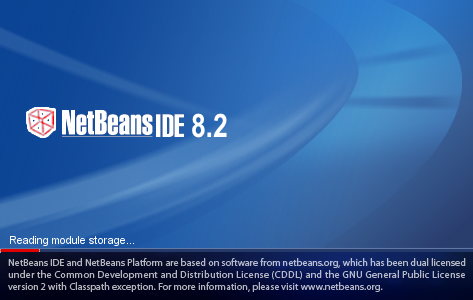 And you should see the home screen of NetBeans:
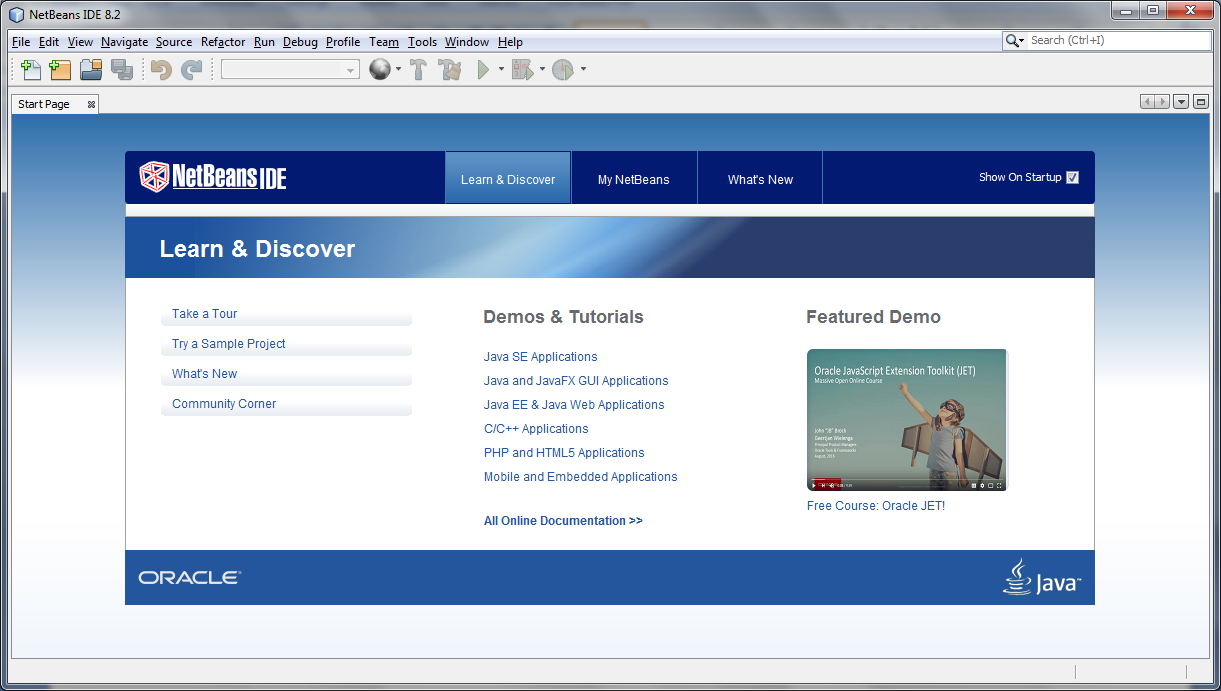
 Click Next to advance to the next step. In the New Java Application screen, type Project Name, specify Project Location and the main class:
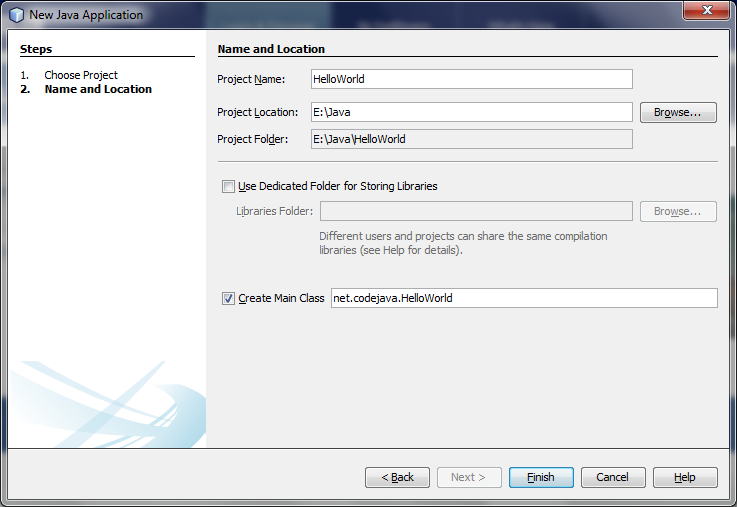
 The method main() is the main entry to a Java application. All Java programs start from the main() method. Now, let’s type some code in this method to print “Hello World Java!” on the screen:
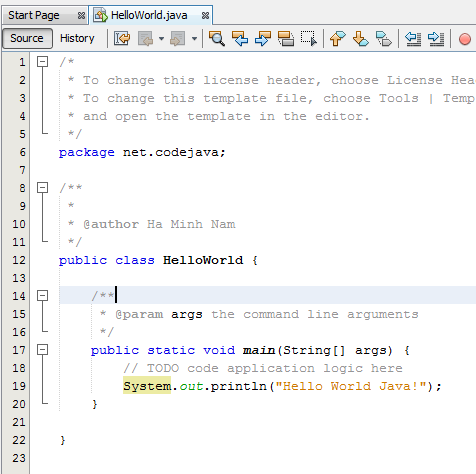 NetBeans is very smart, as it compiles the code instantly while you are typing the code. So if there’s any error, the IDE will inform you by underling the errors with red color, as shown in the following screenshot:
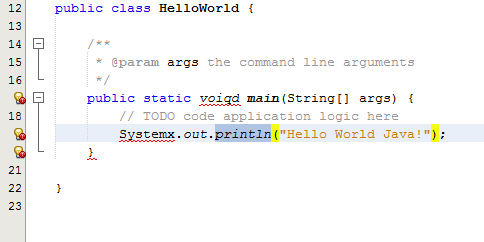 If there’s no red marks like this, the code is fine and we’re ready to run the program.
 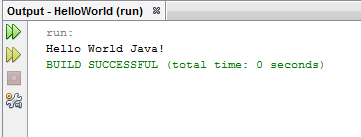 You see, it prints “Hello World Java!”. Congratulations, you have successfully created and run your first Java program with NetBeans IDE. You can modify the program and run again to experiment more.Next, let study about classes and objects in Java with this article: Understand Classes and Objects in Java. You can also watch the video version below:
  Nam Ha Minh is certified Java programmer (SCJP and SCWCD). He began programming with Java back in the days of Java 1.4 and has been passionate about it ever since. You can connect with him on Facebook and watch his Java videos on YouTube.
Comments
Thank you bro. I really appreciate.
So what's the next step?