How to download and install IntelliJ IDEA
- Details
- Written by Nam Ha Minh
- Last Updated on 16 February 2020 | Print Email
https://www.jetbrains.com/idea/download/
You will see the following screen: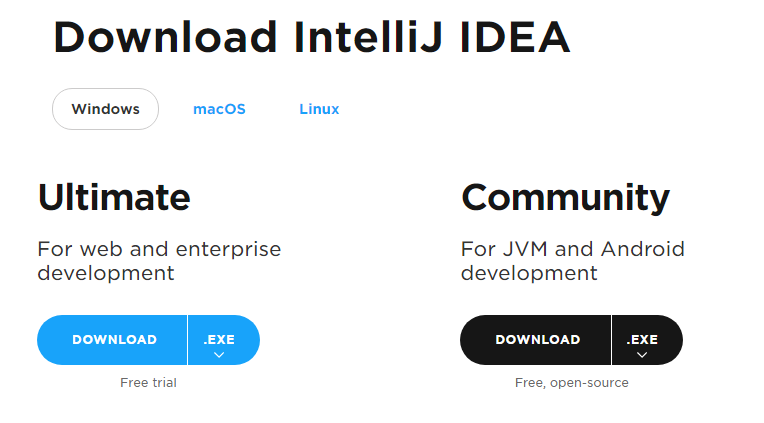 Here, you can download the Ultimate edition or Community edition for Windows, Mac or Linux. On Windows, you can download either an installer (EXE) or a Zip package.I recommend you to try the Ultimate edition to experience the full features of IntelliJ IDEA in 30 days.
 1. Install IntelliJ IDEA using Installer
Click Download .EXE to start downloading the installer program. Once download completed, run the installer program and the following screen appears: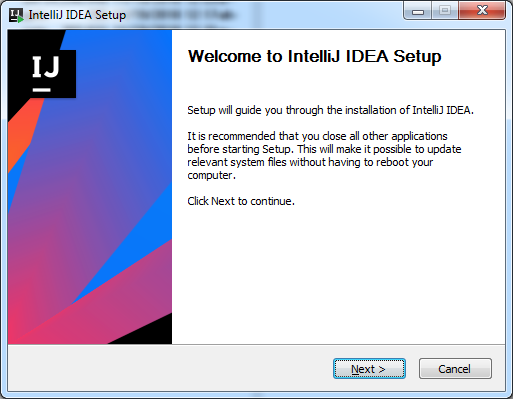 Click Next. Let it uses the suggested installation directory, or click Browse to choose a different location on your computer:
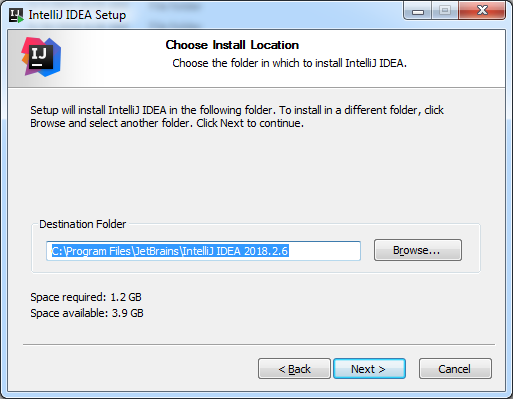 Click Next. You can choose to create desktop shortcut and file associations:
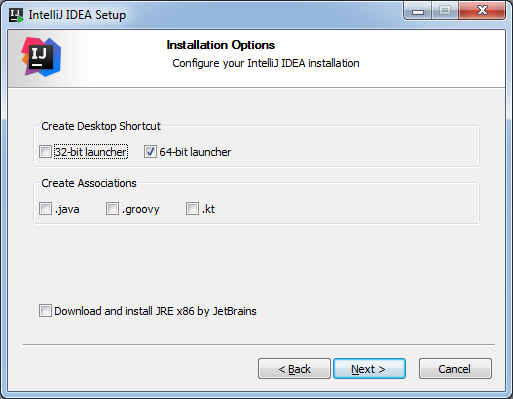 And click Next to start installing the IDE:
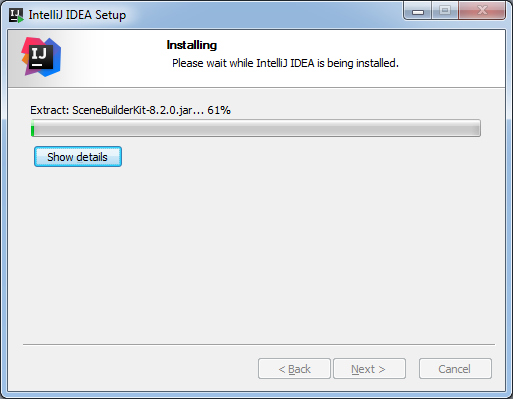
2. Install IntelliJ IDEA using ZIP package
In the download page, click the down arrow to the right of the Download button, and select Windows (.zip): Once download completed, extract the Zip file to a destination directory on your computer.
 3. Run IntelliJ IDEA for the first time
If you install IntelliJ IDEA from an EXE installer, launch the IDE by clicking its shortcut on desktop or in Programs menu. In case you extract from a zip file, go to the bin directory and run the idea.exe (32-bit) or idea64.exe (64-bit) file.The Ultimate edition asks you to activate license: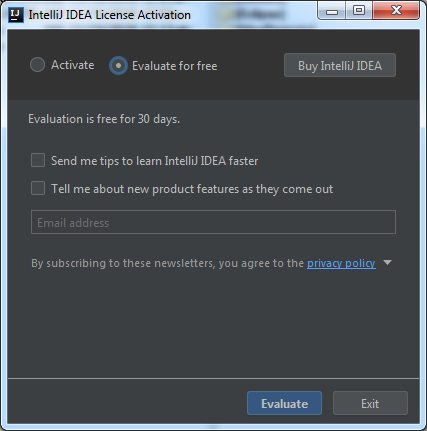 Choose the option Evaluate for free to use the Ultimate edition for free in 30 days. The Community edition doesn’t ask you to activate license. Click Evaluate.Then you are asked to choose a favorite theme:
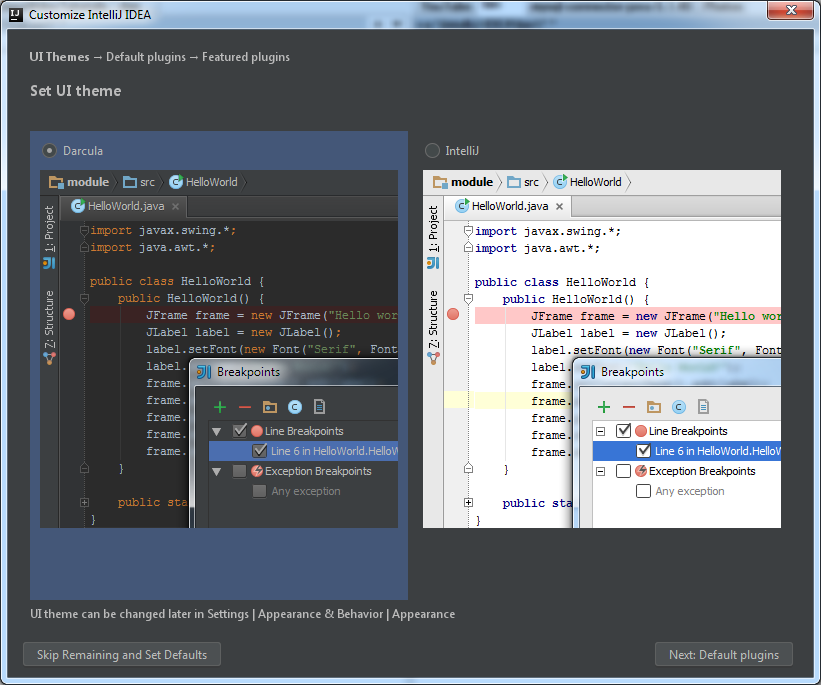 You can choose theme Darcula (black) or IntelliJ (white). Click Next: Default Plugins:
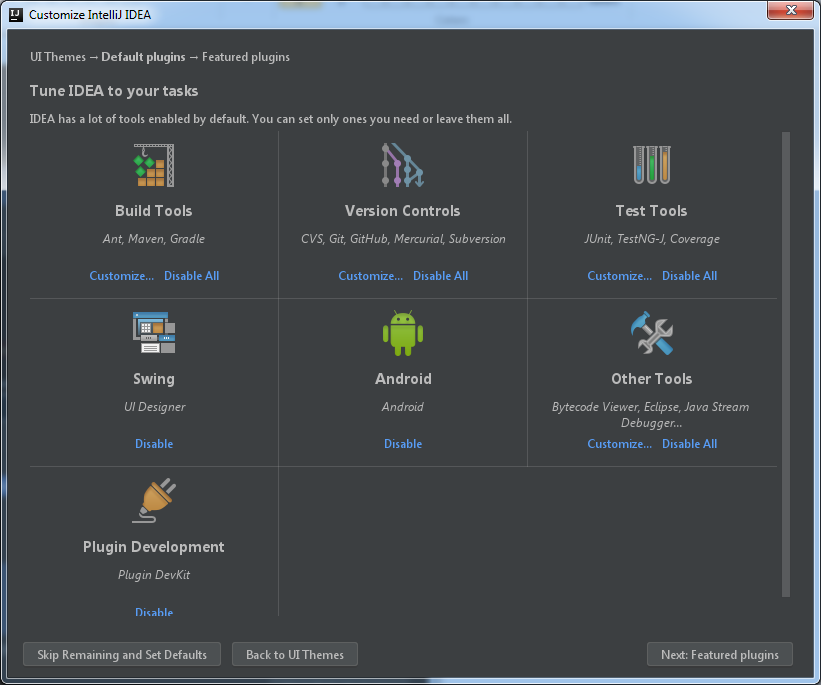 Here, you can customize various plugins. The default is good enough, so click Skip Remaining and Set Defaults.Then it is all set, the splash screen appears:
 Then comes the Welcome dialog, which lets you to create a new or open an existing project:
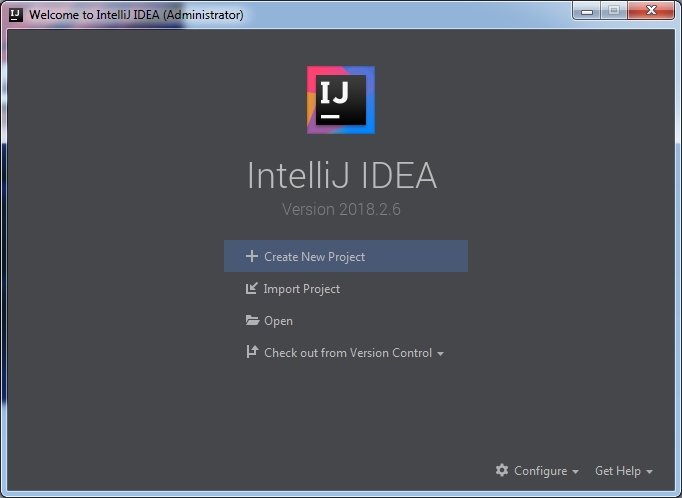 That’s it! Now you can experience one of the best Java IDEs ever.
About the Author:
 Nam Ha Minh is certified Java programmer (SCJP and SCWCD). He began programming with Java back in the days of Java 1.4 and has been passionate about it ever since. You can connect with him on Facebook and watch his Java videos on YouTube.
Comments