How to Use NetBeans IDE from the Basics
- Details
- Written by Nam Ha Minh
- Last Updated on 16 February 2020 | Print Email
1. Download and Install NetBeans 8.2
NetBeans 8.2 requires Java 8 or newer so before installing, make sure you have at least Java SE 8 installed on your computer.Go to https://netbeans.org/downloads/ and you will see this screen: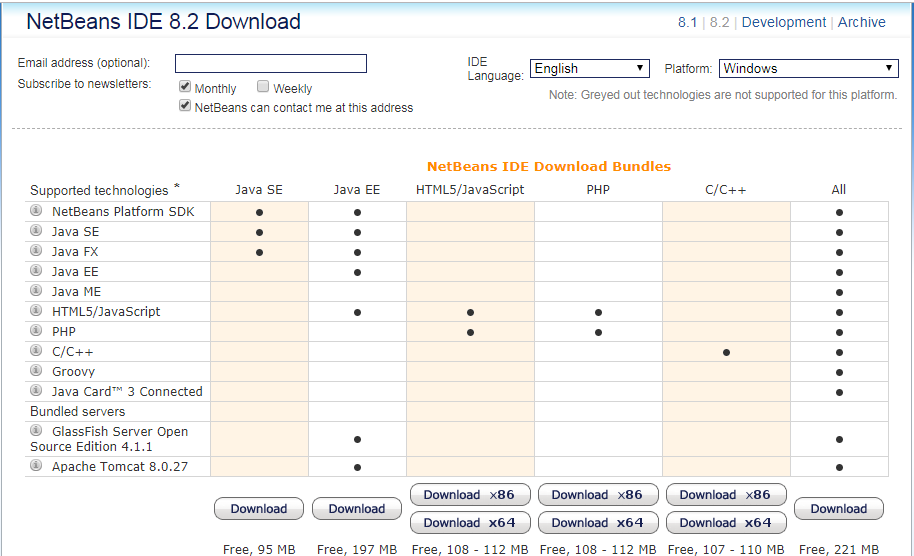 Choose IDE language (NetBeans is available in 24 languages), platform (Windows, Linux or Mac) and a bundle you want to download. I recommend you to download the bundle Java EE which supports development of Java SE, Java EE, and HTML5/Javascript applications. So click the second Download button (from the left).For Windows, you will download an EXE file - netbeans-8.2-javaee-windows.exe - which is the NetBeans Installer program. Run this file to launch the installer and follow the wizards. When you are asked to install GlassFish and Tomcat, choose both - as you will use them in future:
 When the installation completes, you can open the NetBeans IDE from a shortcut in Programs menu. The following is a screenshot:
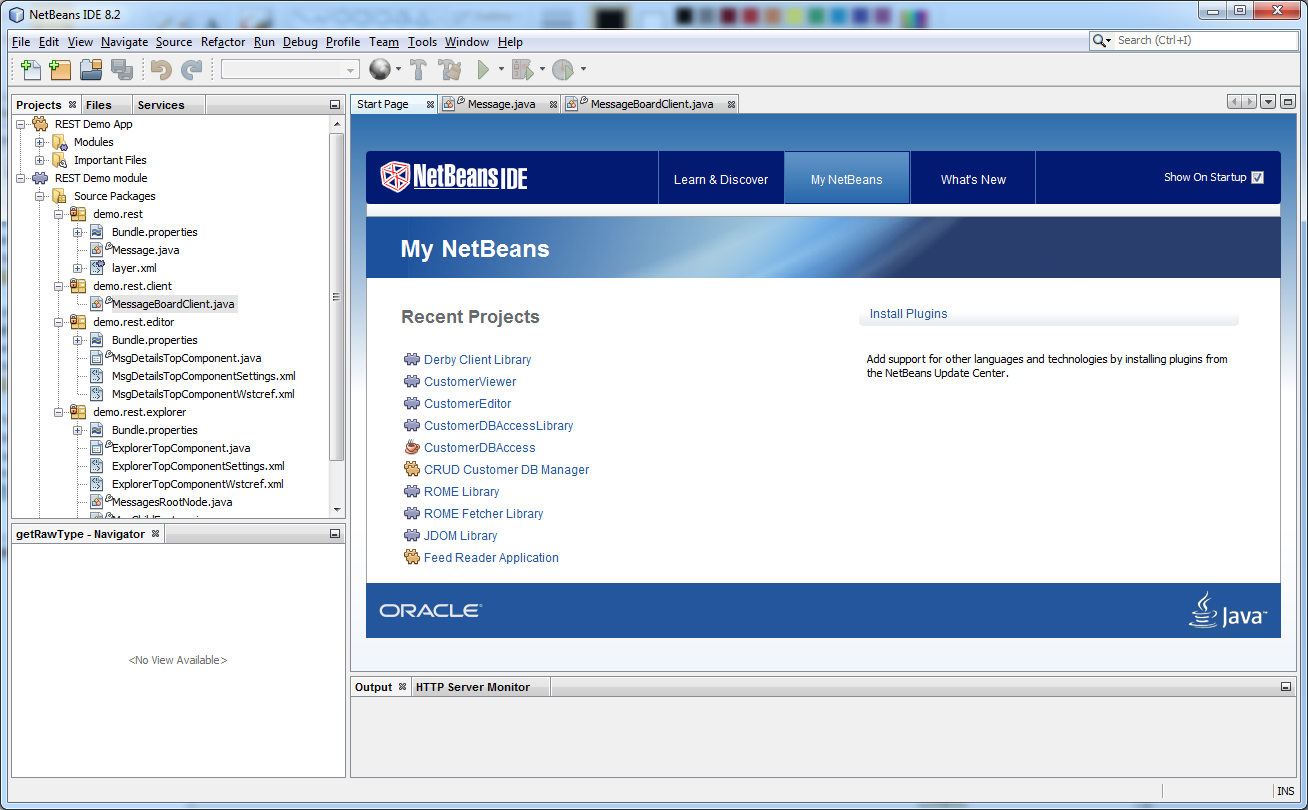
2. Download and Apache NetBeans 9.0
The first release of NetBeans by the Apache Software Foundation supports only Java SE and Java EE development. It requires Java 8 or newer, but you should install Java 10 to take advantages of Java 10 support by Apache NetBeans 9.0. Here’s the download page:https://netbeans.apache.org/download/nb90/nb90.html
Download the Binaries (ZIP file: incubating-netbeans-java-9.0-bin.zip). You have to choose a mirror site which is close to you. And extract the downloaded file into a directory on your computer.Navigate to the netbeans/bin directory and execute the netbeans.exe file (32-bit) or netbeans64.exe (64-bit) to launch the IDE. You can see Apache NetBeans 9.0 has new splash screen: In the first time, you will be asked to install the nbjavac Library plugin:
 Click Next to proceed and wait a moment for the IDE to be fully loaded. You will see Apache NetBeans 9.0 screen like this:
3. Understand the Main Menu in NetBeans
All the commands you can use are accessible from the main menu at the top of the IDE window. There are shortcut keys printed next to each menu item, so you can use them to quickly invoke a command instead of using mouse.- File Menu: lets you work with projects and files. You can create new, open, import, export and close projects from here. There are also commands to open, create, and save files. You can open multiple projects and group related ones as a group so you can open the group later, instead of opening every project. This is something similar to Workspace in Eclipse: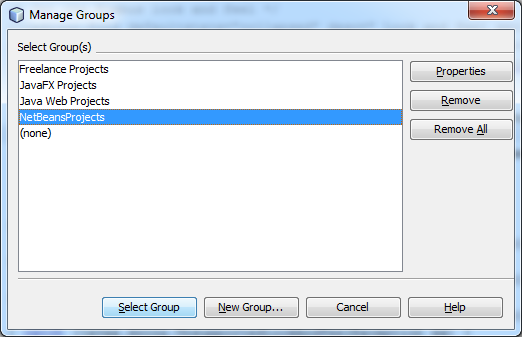 The Open Recent Project and Open Recent File commands come to handy when you want to quickly get back to what you worked previously. - Edit Menu: lets you work with text in the currently active code editor, such as copy, paste, find, replace…The Find Usages command (Alt + F7) is useful for finding where a class or method is used in the current file, package, project or all open projects:
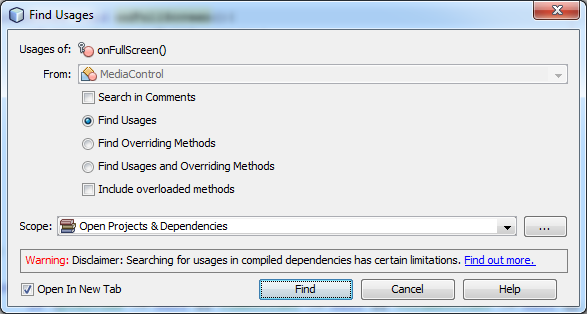 The commands Find in Projects and Replace in Projects are excellent, allowing you to find and replace in the entire project. You can use regular expression for advanced find and replace, and NetBeans let you review the matches before executing the command:
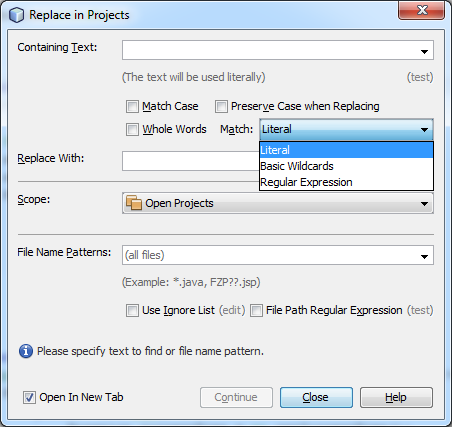 - View Menu: lets you show/hide buttons on the main toolbar, editor toolbar, line numbers, breadcrumb… The command Full Screen hides the title bar and toolbar to have more space for other components. And the command Show Only Editor comes to handy when you want to view only the code editor. You can also manipulate code folding via the commands under the menu item Code Folds. - Navigate Menu: contains commands that let you quickly jump to a class, method, file, type, symbol, a line number, etc - everything that helps you to navigate through the code and items within the IDE. I love using the Go to File command to quickly jump to a source file:
 You can also use commands to go forth and back between last edit locations, bookmark points, error marks and so on. - Source Menu: You can use the commands in this menu to manipulate the source code in various ways, such as edit, format, complete code, fix imports, insert code e.g. generate constructor, setter, equals, hashCode, override methods…Everything that helps you write code quickly and easily.
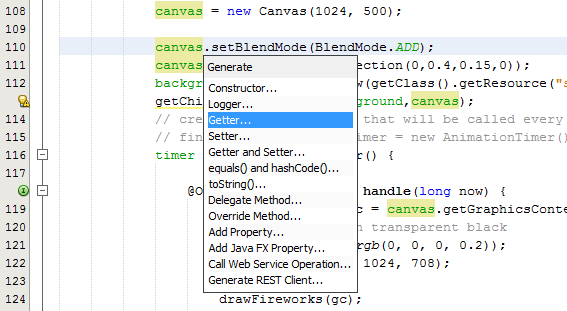 - Refactor Menu: you can use the commands in the menu to restructure the code without changing its behavior (refactoring) such as rename, move, copy, safely delete, change method parameters, encapsulate fields, and much more. The refactor features can save you time and avoid errors when restructuring your code.
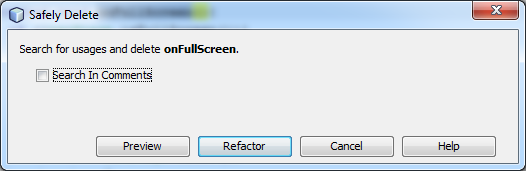 - Run Menu:This menu contains commands that let you compile, run and test a file or a project. You can also build a project, i.e. generating JAR/WAR file for the project.- Debug Menu: contains commands that let you run a project or a file in debugging mode to inspect the values of variables in memory to identify problems and fix bugs.- Profile Menu: you can use the commands in the menu to run a project or a file in Profiling mode - in order to monitor applications to find memory leaks and optimize speed.- Team Menu: the commands in this menu let you work with a version control system like Git, Mercurial or Subversion (SVN), e.g. pulling a project from the version control server or push a project to the server.- Tools Menu: via the commands here, you can use various tools and plugins installed in the IDE, as well as configuring Java platforms, libraries, servers, templates…- Window Menu: provides commands to show/hide all the internal windows within the IDE.- Help Menu: lets you access to NetBeans Help system and Javadocs. It refers the online documentation published on NetBeans and Oracle websites.- Quick Search bar: Note that there’s a quick search bar at the top-right corner of the main menu. It allows you to quickly search anything inside the IDE (shortcut: Ctrl + I).
 4. Understand the Key Windows in NetBeans
Next, let’s understand the key visual components in NetBeans - the windows which are most frequently used.- Projects window: docked on the left side by default, this window shows the opened projects and lets you navigate the structure of a project. You will always work with this window in NetBeans. Shortcut to activate this window: Ctrl + 1.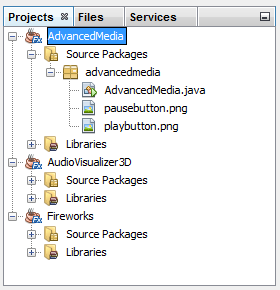 - Code Editorwindow: Besides the text area for editing code, a code editor in NetBeans contains a toolbar at the top and a breadcrumb at the bottom. The toolbar contains buttons that allow you to quickly navigate through the code. The breadcrumb tells you where the current edit cursor is, in a structured path: package > class > method > code block…
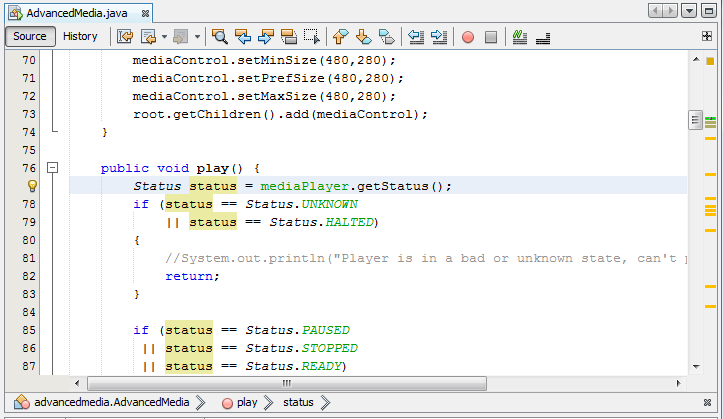 In addition, the vertical bar on the left shows line numbers and annotations like errors, warnings, suggestions, etc.Also note that there’s a small button (looks like a square with a cross) at the top-right corner of the editor that allows you to split the editor window either horizontally or vertically. This feature is useful when you want to have two different views of the same code file - to compare two different code sections of the same source file.The shortcut key to activate this window is Ctrl + 0. And to switch between code editors, use Ctrl + Tab. - Navigatorwindow: this window supplements the code editor window by displaying the structure of the code in a hierarchical tree. For example, if the current editor is for Java code, the Navigator window lists all classes and members (fields and methods) of the source file - so you can use this window to quickly navigate to a member in a class. This is similar to the Outline view in Eclipse. Use Ctrl + 7 to focus this window.
 - Output window: displays the output printed when running a file or project. There can be a separate instance of this window for each file. Since NetBeans uses Ant build by default, the title of an output window typically contains the Ant task next to the file name, e.g. run-single. In the recent releases, you can collapse/expand text in the output window:
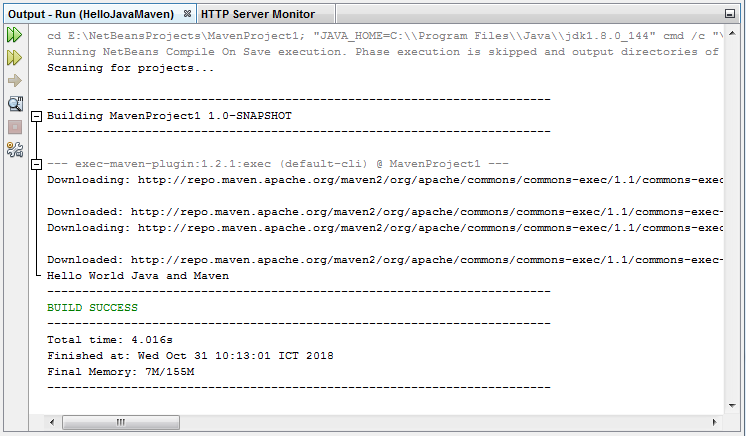 To activate this window, press Ctrl + 4. - Files window: displays the file system of the opened projects. Note that the Projects window doesn’t show all files. So if some files are not shown in the Projects window, you can find them in the Files window. For example, you need to use this window to open an Ant build file.
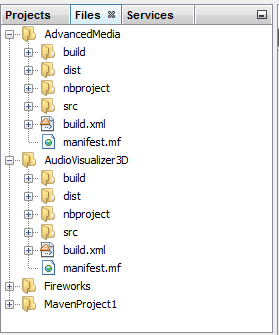 Shortcut key to activate this window: Ctrl + 2. - Services window: lets you manage running instances of database servers, web servers (GlassFish, Tomcat), Maven repositories, test server, etc.
 - Palette window: this window displays the user interface controls used for designing Swing applications. You can drag and drop controls from the palette to the GUI builder area.
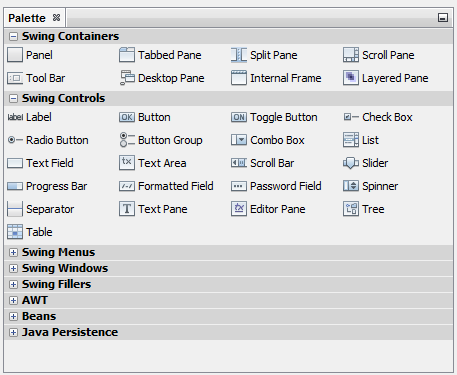 This window is automatically opened when you create a JFrame, JDialog or JPanel. - Properties window: this window displays the properties editor for the currently selected control in the GUI builder area:
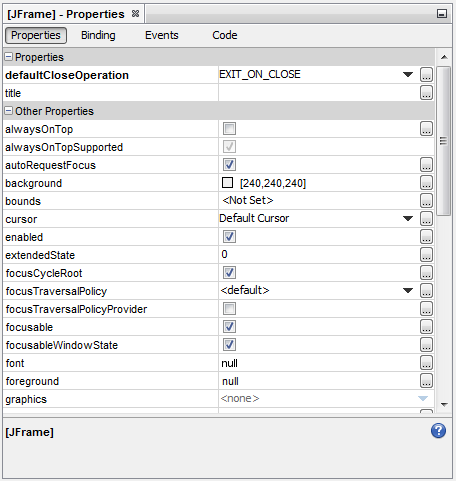 Using shortcut keys in NetBeans:To see the complete list of shortcut keys, click menu Help > Keyboard Shortcuts Card.That’s how to download, install and get familiar with NetBeans IDE from the basics. To learn more, visit NetBeans Docs & Support.
 Other NetBeans Tutorials:
- What is NetBeans? - for beginner
- Java Hello World for Beginner with NetBeans IDE
- How to Update License Header for Java files in NetBeans
- 16 NetBeans Shortcut Keys for Code Editing
- 10 NetBeans Shortcut Keys for Code Refactoring
About the Author:
 Nam Ha Minh is certified Java programmer (SCJP and SCWCD). He began programming with Java back in the days of Java 1.4 and has been passionate about it ever since. You can connect with him on Facebook and watch his Java videos on YouTube.
Comments