Deploy Simple Spring Boot Project to Heroku using Git and Heroku CLI
- Details
- Written by Nam Ha Minh
- Last Updated on 29 October 2021 | Print Email
1. Login to Heroku
Open a new command prompt (Windows) or terminal (Mac/Linux), and type heroku login to sign in your Heroku account in Heroku CLI. You will be asked to login in web browser, and then come back to the command prompt: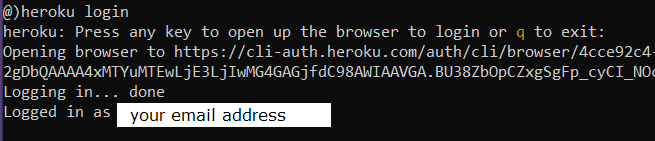
2. Commit Project to Git
Change the current directory to the project directory. Type git init to create a local Git repository for the project: Then type git add . to add the project’s files to the local repo’s index (note that there is a dot at the end).Next, type the following command to commit the project’s files to the local repo:
git commit -m "commit to deploy"
Now, the project is under version control by Git, with the default branch name is ‘master’:
3. Create a new Heroku app
Next, let’s create a new app named my-spring-app-1 on Heroku by using this command:heroku create my-spring-app-1
Note that the name of your app must be unique across deployed apps on Heroku, so you will have to change the name if it is already taken. You see, a new app is created and assigned a public URL (to be accessible via web browser) and a Git remote repo URL (to deployed via Git push).
4. Set Git remote reference
If the project comes from your local computer, Heroku will update Git remote reference to the remote URL on Heroku. You can type git remote –v to confirm: In case the project is cloned from GitHub, you need to use this command to update the remote reference:
heroku git:remote –a my-spring-app-1

5. Deploy the project via Git push
Now, let’s type the following command to deploy the project on to Heroku:git push heroku master
This Git command will send the project’s files to the remote repository on Heroku for deployment, heroku is the remote name and master is the branch name.Then you will see Heroku detects a Java project, and runs Maven to build the project on remote server, which may take a while. And you should see BUILD SUCCESS output like this: Heroku also discovers it is a web application and assigns the process type is web. You can see the slug size if the app is 69.7M and the release version is v3. That means the project has been deployed successfully.
6. Run the deployed app
Type the following command to set on dynos running for the deployed web application:heroku ps:scale web=1 –a my-spring-app-1
Then type heroku open to access the home page of the web application in browser. You should see something like this: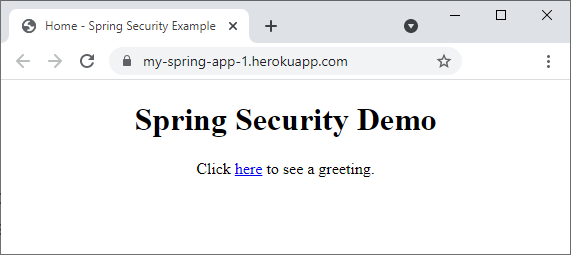 And to view the logs of the app, type heroku logs –a my-spring-app-1.Congratulations, you have learned how to deploy your first Spring Boot application on to Heroku cloud platform. To see the steps in action, I recommend you watch this video:
 Other Heroku tutorials:
- What is Heroku for Developers (Benefits, how it works and key concepts)
- Change Java version for Apps deployed on Heroku
- Deploy Spring Boot App with MySQL Database on Heroku
- How to Deploy JAR File to Heroku
- Add Custom Domain Names for Heroku Apps
- How to Enable Secure Connection (HTTPS) for Heroku Apps
- How to Deploy WAR File to Heroku
About the Author:
 Nam Ha Minh is certified Java programmer (SCJP and SCWCD). He began programming with Java back in the days of Java 1.4 and has been passionate about it ever since. You can connect with him on Facebook and watch his Java videos on YouTube.