Throughout this Spring Boot Security tutorial, you will learn how to implement login and logout with in-memory users for a Spring Boot application. In other words, how to add form-based authentication for a Java web application based on Spring framework.Login with in-memory users is suitable for applications that need only simple authentication with a fixed set of credentials.The code example in this tutorial has been updated to Spring Boot 3.2.3, Spring framework 6.1.4, Spring Security 6.2.2 and Thymeleaf 3.1.2. Note that Thymeleaf is used for view templates.
1. Add Spring Security dependency
To take advantages of authentication APIs provided by Spring framework, declare the following dependency in Maven build file:
This page displays a typical login form that looks like this:As you can see in the code, it uses Thymeleaf syntax and EL expression to display error message if the user failed to login and a message after the user logged out.
4. Code a Secured Page
Next, write code for the welcome page (welcome.html) that needs to be secured, with the following code:
A user must login to view this page, which displays a welcome message followed by the username, and a logout button.NOTE: if you use Thymeleaf 3.1.2 or newer, update the line that displays the welcome message as follows:
Since I focus on the authentication-related code, no Spring MVC controller class is used. Instead, I use the following Spring MVC configuration class to map the URLs with view names:
package net.codejava;

import org.springframework.context.annotation.Configuration;
import org.springframework.web.servlet.config.annotation.ViewControllerRegistry;
import org.springframework.web.servlet.config.annotation.WebMvcConfigurer;

@Configuration
public class MvcConfig implements WebMvcConfigurer {

	@Override
	public void addViewControllers(ViewControllerRegistry registry) {
		registry.addViewController("/").setViewName("home");
		registry.addViewController("/home").setViewName("home");
		registry.addViewController("/welcome").setViewName("welcome");
		registry.addViewController("/login").setViewName("login");
	}

}
This class is simple and straightforward.
6. Configure Authentication with in-memory users
Next, to secure some web pages, we need to code a Spring security configuration class with the following code:
As you can see, this class must be annotated with the @EnableWebSecurityannotation and extends the WebSecurityConfigurerAdapter class.Since plain text passwords are not recommended, we need to use a password encoder like BCrypt:
@Bean
public PasswordEncoder passwordEncoder() {
	return new BCryptPasswordEncoder();
}
BCrypt is a strong hashing algorithm recommended by Spring framework. And we override the userDetailsService() method to provide in-memory credentials:
@Bean
@Override
protected UserDetailsService userDetailsService() {
	UserDetails user1 = User
			.withUsername("namhm")
			.password("$2a$10$sWszOXuTlN0amQi8vXp4cerb.tJUQo.4FzLAnTCsSqChsYhlLdQWW")
			.roles("USER")
			.build();
	UserDetails user2 = User
			.withUsername("admin")
			.password("$2a$10$PH0p2x2x8oi5bKx.80Bt7ubMAiHdZnqm9TC/Cpss9VoccyTYw1AoC")
			.roles("ADMIN")
			.build();

	return new InMemoryUserDetailsManager(user1, user2);
}
As you can see, here we create two in-memory users with password encoded using BCrypt algorithm. The raw password for user namhm is codejava, and password for admin is nimda. You can write a small program to generate BCrypt-encoded passwords like this:
package net.codejava;

import org.springframework.security.crypto.bcrypt.BCryptPasswordEncoder;

public class SecuredPasswordGenerator {

	public static void main(String[] args) {
		BCryptPasswordEncoder encoder = new BCryptPasswordEncoder();
		String rawPassword = "nimda";
		String encodedPassword = encoder.encode(rawPassword);

		System.out.println(encodedPassword);
	}

}
And finally, we configure authentication and authorization details by overriding the configure() method as follows:
Here, we specify the URLs /, /home, /login and /logout do not require authentication (all users are permitted); other pages require authentication.We also specify URL for the custom login page and form parameter names for username and password fields.NOTE: If you're using Spring Boot 3.x with Spring Security 6.x, update the web security configuration class as follows:
On the homepage, clicks the hyperlink /welcome and the user will see the login page. Try to enter a wrong username and you will see the error message:Now enter a correct username and password (namhm and codejava), you should see the welcome page:On this page, click Logout and you will see the login page again with the successful logout message:
8. Customize Login URLs
In addition to the custom login page, you can also specify your own versions of login error page, login success page, and logout success page – For example:
Note that the default success URL is the page to which the users will be redirected if they login directly from the login page – not from the secure pages. For further customization, read this guide: Spring Boot Security Customize Login and Logout.
9. Bonus Code: Authorize users
You may need to authorize a user based on his role. As you see in the code above, the user1 has USER role and the user2 has ADMIN role:
UserDetails user1 = User
		.withUsername("namhm")
		.password("$2a$...")
		.roles("USER")
		.build();

UserDetails user2 = User
		.withUsername("admin")
		.password("$2a...")
		.roles("ADMIN")
		.build();
To specify which URL needs which role to be authorized, configure in the code as follows:
Here, the URL /cpanelrequires the user must have ADMIN role to access. Otherwise the access denied page specified will be displayed.NOTE: If Spring Boot 3.x and Spring Security 6.x are used, you need to use the following code:
Here, only the user with ADMIN role can see the link to Admin CPanel.And remember to make authorization works with Thymeleaf template, you must declare the following dependency:
ConclusionSo far you have learned how to implement form authentication with in-memory users using Spring Security in a Spring Boot application. As you can see, Spring framework makes it easy to secure web pages with its highly flexible and customizable APIs. You can download the sample project under the Attachments below, or get the code on GitHub.You can also watch the video version of this tutorial on YouTube:
Nam Ha Minh is certified Java programmer (SCJP and SCWCD). He began programming with Java back in the days of Java 1.4 and has been passionate about it ever since. You can connect with him on Facebook and watch his Java videos on YouTube.
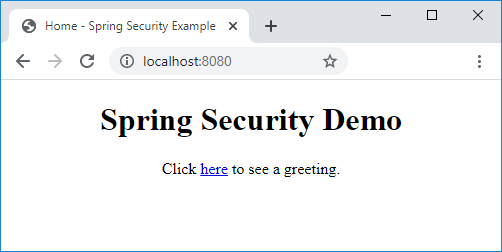 On this page, there’s a link to the URL /welcome that requires login to access.
 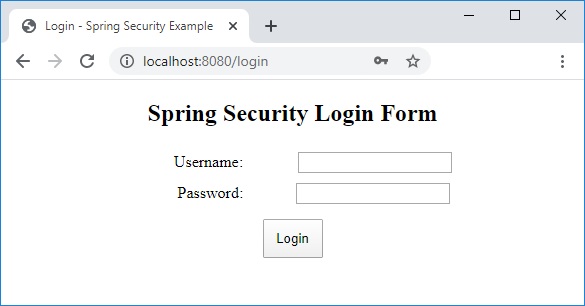 As you can see in the code, it uses Thymeleaf syntax and EL expression to display error message if the user failed to login and a message after the user logged out.
 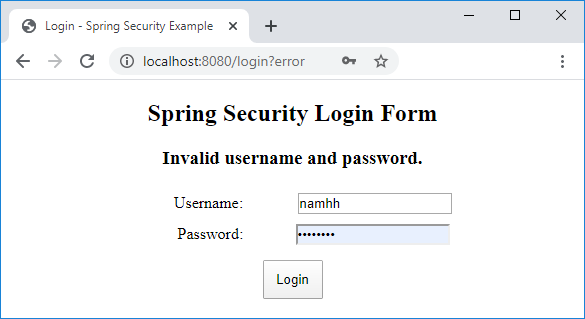 Now enter a correct username and password (namhm and codejava), you should see the welcome page:
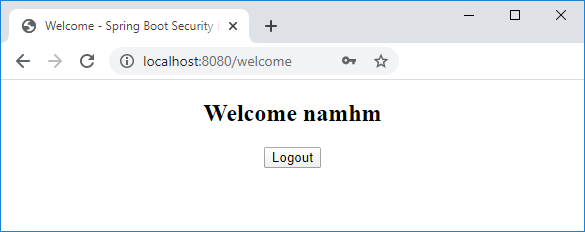 On this page, click Logout and you will see the login page again with the successful logout message:
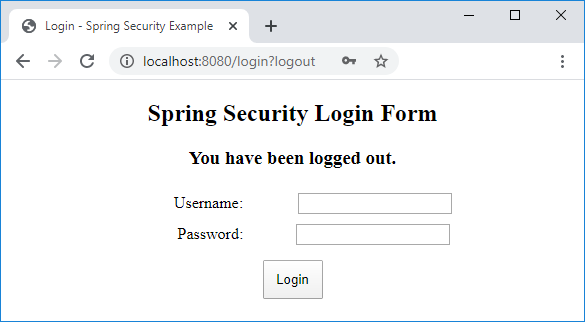
 Nam Ha Minh is certified Java programmer (SCJP and SCWCD). He began programming with Java back in the days of Java 1.4 and has been passionate about it ever since. You can connect with him on Facebook and watch his Java videos on YouTube.
Comments
Thanks for the nice tutorial.
One thing I did not understood is: After successful login as 'admin' how does welcome page was displayed? Because
1. The login page action points to /login
2. The MvcConfig page translates /login to login.html
Then how does the post request of login page is able to render the welcome.html???
Thank you and eagerly awaiting your response.
Regards,
Rupesh
That param.error attribute is set by Spring Security automatically. We just use it.