Spring Security makes it easy to secure webpages in Java web application based on Spring framework. Furthermore, Spring Security APIs are highly flexible, allowing programmers to customize various details of the authentication and authorization process.Throughout this article, you will learn how to customize login and logout details provided by Spring Security APIs.
1. Customize Login Details
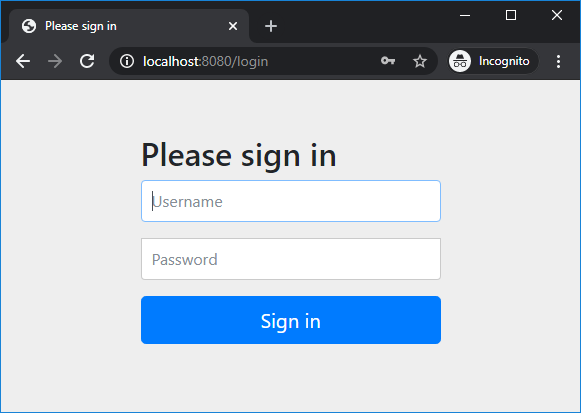
When form login method is used, Spring Security will display the default login page that looks like this:In case you want to use your own login page, specify URL of the custom login page using this code:
By default, Spring Security uses the field names username and password, and the action of the form is /login. If you want to use different field names and URL, specify them using Java code as below:
Spring Security will redirect the users to the page he has visited prior to login. For example, if a user visits the create new product page that requires authentication, he will be redirected to the login page. And after login succeeded, he will be sent back to the create new product page. This is the right logic in case the user visited a secured page before.In case you want to show user a separate page after he visits an unsecured page prior to login, specify the default success URL as follows:
Remember that the default login success page appears only when the user visited an unsecured page prior to login.
Login Failure URL:
By default, Spring Security will redirects to /login?error if the user failed to login. If you want to change this behavior, e.g. showing your own page that displays login error message to the user – then specify the custom login error page using this code:
http.formLogin()
	.failureUrl("/login_error");
Login Success Forward URL:
If you want to execute some extra code after the user has logged in successfully, e.g. logging or auditing, then specify the success forward URL like this:
For this to work, you must write a corresponding handler method in the controller class. For example:
@Controller
public class AppController {

	@PostMapping("/login_success_handler")
	public String loginSuccessHandler() {
		System.out.println("Logging user login success...");

		return "index";
	}
}
In this login success handler method, you specify where the user will go after login successfully.
Login Failure Forward URL:
If you want to run some extra code if the user failed to login, specify the failure forward URL like this:
By default, Spring Security processes the /logoutURL via HTTP POST method. You can configure the HttpSecurity object to change this URL as below:
http.logout()
	.logoutUrl("/doLogout");
For this to work, you must update action URL of the logout form accordingly:
<form th:action="@{/doLogout}" method="post">
Logout Success URL:
By default, the user will see the login page after logging out of the application. If you want to show a customized page to the user, specify the logout success URL as follows:
The reason you should use Logout button because Spring Security automatically generates a security token to prevent CSRF (Cross-Site Request Forgery) attack in the login page. For example:
That’s why the logout request must be sent via HTTP POST method. You can disable CSRF prevention to use a logout link (via HTTP GET method) using this code:
http.csrf().disable();
However, this is not recommended for applications that go on production. So the best way is to hide the logout form and use Javascript for the logout link, as shown in the following example:
That’s how to customize login and logout details for a Java web application built on Spring Boot. As you have seen, Spring Security provides highly flexible and customizable APIs so you can use with ease.I recommend you to watch this video for the visual howtos:
Nam Ha Minh is certified Java programmer (SCJP and SCWCD). He began programming with Java back in the days of Java 1.4 and has been passionate about it ever since. You can connect with him on Facebook and watch his Java videos on YouTube.
 In case you want to use your own login page, specify URL of the custom login page using this code:
 Nam Ha Minh is certified Java programmer (SCJP and SCWCD). He began programming with Java back in the days of Java 1.4 and has been passionate about it ever since. You can connect with him on Facebook and watch his Java videos on YouTube.
Comments
You can use Login Success Handler to redirect the logged user based on their role.