Spring Boot RESTful CRUD API Examples with MySQL database
- Details
- Written by Nam Ha Minh
- Last Updated on 05 July 2024 | Print Email
- Spring Boot: greatly simplifies Java enterprise application and RESTful APIs development by providing default configuration and best practices.
- Spring Data JPA: simplifies programming for the data access layer by implementing most common persistence operations following best practices.
- Hibernate: is the default Object/Relational Mapping framework integrated with Spring Data JPA.
- Java Development Kit (JDK 1.8 or newer)
- MySQL Database server (including MySQL Workbench and MySQL Command Line Client to manage database)
- A Java IDE (Eclipse IDE, NetBeans or IntelliJ IDEA)
- curl (to test RESTful APIs)
1. Create MySQL Database
We will be developing RESTful APIs that allow clients to perform CRUD operations about products, so create the following table in MySQL server:CREATE TABLE `product` ( `id` int(11) NOT NULL AUTO_INCREMENT, `name` varchar(45) NOT NULL, `price` float NOT NULL, PRIMARY KEY (`id`) );This is a simple table containing just 3 columns: id, name and price.
2. Configure Maven Dependencies
Specify the following configuration in your project’s pom.xml file:<parent>
<groupId>org.springframework.boot</groupId>
<artifactId>spring-boot-starter-parent</artifactId>
<version>2.2.2.RELEASE</version>
</parent>
<dependencies>
<dependency>
<groupId>org.springframework.boot</groupId>
<artifactId>spring-boot-starter-web</artifactId>
</dependency>
<dependency>
<groupId>org.springframework.boot</groupId>
<artifactId>spring-boot-starter-data-jpa</artifactId>
</dependency>
<dependency>
<groupId>mysql</groupId>
<artifactId>mysql-connector-java</artifactId>
<scope>runtime</scope>
</dependency>
</dependencies>
<properties>
<java.version>1.8</java.version>
</properties>
<build>
<plugins>
<plugin>
<groupId>org.springframework.boot</groupId>
<artifactId>spring-boot-maven-plugin</artifactId>
</plugin>
</plugins>
</build>3. Configure Data Source Properties
Next, we need to specify database connection information. So create the application.properties file under src/main/resources directory with the following content:spring.jpa.hibernate.ddl-auto=none spring.datasource.url=jdbc:mysql://localhost:3306/mydb spring.datasource.username=root spring.datasource.password=passwordRemember to update url, username and password according to your MySQL database server.
4. Code Domain Model Class
Next, create the Product class to map with the product table in the database as follows:package net.codejava;
import javax.persistence.Entity;
import javax.persistence.GeneratedValue;
import javax.persistence.GenerationType;
import javax.persistence.Id;
@Entity
public class Product {
private Integer id;
private String name;
private float price;
public Product() {
}
public Product(Integer id, String name, float price) {
this.id = id;
this.name = name;
this.price = price;
}
@Id
@GeneratedValue(strategy = GenerationType.IDENTITY)
public Integer getId() {
return id;
}
// other getters and setters...
}This is a simple domain model class, with class name and field names are identical to table name and column names in the database – so we can use the minimum number of JPA annotations. 5. Code Repository Interface
To take advantages of Spring Data JPA, create the ProductRepository interface as below:package net.codejava;
import org.springframework.data.jpa.repository.JpaRepository;
public interface ProductRepository extends JpaRepository<Product, Integer> {
}Then Spring Data JPA will generate implementation code for the most common CRUD operations – we don’t have to write a single query. 6. Code Service Class
Next, code a class that acts as a middle layer between persistence layer (repository) and controller layer. Create the ProductService class with the following code:package net.codejava;
import java.util.List;
import javax.transaction.Transactional;
import org.springframework.beans.factory.annotation.Autowired;
import org.springframework.stereotype.Service;
@Service
@Transactional
public class ProductService {
@Autowired
private ProductRepository repo;
public List<Product> listAll() {
return repo.findAll();
}
public void save(Product product) {
repo.save(product);
}
public Product get(Integer id) {
return repo.findById(id).get();
}
public void delete(Integer id) {
repo.deleteById(id);
}
}As you can see, this business/service class simply forwards the calls to an implementation of the ProductRepository interface. In addition, all the methods are executed in transactions because this class is marked with the @Transactional annotation. 
Spring Boot REST APIs Ultimate Course
Learn Hands-on REST API Development with Spring Boot: Design, Implement, Document, Secure, Test, Consume RESTful APIs
7. Code Spring Boot Application Class
To run our Spring Boot application, we need to create the main class as shown below:package net.codejava;
import org.springframework.boot.SpringApplication;
import org.springframework.boot.autoconfigure.SpringBootApplication;
@SpringBootApplication
public class Application {
public static void main(String[] args) {
SpringApplication.run(Application.class, args);
}
}This class will start embedded Tomcat server hosting our Spring Boot web application. 8. Code REST Controller Class
Here, we come to the part that actually exposes RESTful APIs for CRUD operations – a Spring controller following REST style. Create the ProductController class with some initial code as below:package net.codejava;
import java.util.*;
import org.springframework.beans.factory.annotation.*;
import org.springframework.http.*;
import org.springframework.web.bind.annotation.*;
@RestController
public class ProductController {
@Autowired
private ProductService service;
// RESTful API methods for Retrieval operations
// RESTful API method for Create operation
// RESTful API method for Update operation
// RESTful API method for Delete operation
}The @RestController annotation enables the handler methods in this controller to be exposed as RESTful APIs, e.g. reading JSON data from the request and including JSON data to the response. And this REST controller still takes advantages of Spring’s dependency injection (an instance of ProductService is autowired).Let’s see how to implement RESTful API for each CRUD operation in the next sections. 9. Implement RESTful API for Retrieval Operation
The first RESTful API is a method that returns a list of product (a kind of retrieval operation):@GetMapping("/products")
public List<Product> list() {
return service.listAll();
}Now we can run the Application class and test. With Eclipse, you can see the Spring Boot logo appears in the Console view as shown in the following screenshot: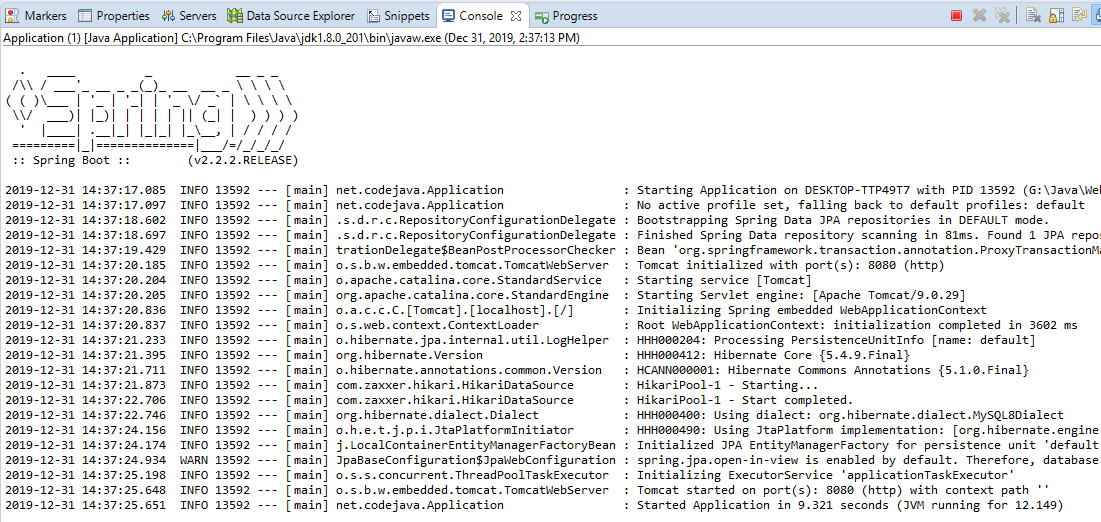 From the logging information, you can see Tomcat, Spring Data JPA and Hibernate are started. And the server listens on port 8080 by default.Use MySQL Workbench to insert the first row into the product table (name: iPhone X, price: 999.98). And type the following curl command:
curl http://localhost:8080/productsThen you can see the server’s response like this:
[{"id":1,"name":"iPhone X","price":999.98}]This is the JSON representation of a List of Product objects. Spring uses Jackson JSON library to serialize Java objects to JSON and vice-versa, automatically.Next, let’s implement the second method for a RESTful API that allows the clients to get information about a specific product based on ID, like this:@GetMapping("/products/{id}")
public ResponseEntity<Product> get(@PathVariable Integer id) {
try {
Product product = service.get(id);
return new ResponseEntity<Product>(product, HttpStatus.OK);
} catch (NoSuchElementException e) {
return new ResponseEntity<Product>(HttpStatus.NOT_FOUND);
}
}In this method, if a product is found for the given ID, the server sends a response that includes JSON representation of the Product object with HTTP status OK (200). Else if no product is found, it returns HTTP status Not Found (404).Type the following curl command to test:curl http://localhost:8080/products/1Response from the server:
[{"id":1,"name":"iPhone X","price":999.98}]Try to test with a non-exist ID:curl –v http://localhost:8080/products/10You will see HTTP 404 status in the verbose output.NOTE: In case of no items in the list (the returned list is empty) the API should return HTTP status 204 No Content. For details, check this article: Spring Boot REST API CRUD with HATEOAS Tutorial
10. Implement RESTful API for Create Operation
The following method will expose a RESTful API that allows the clients to create a product:@PostMapping("/products")
public void add(@RequestBody Product product) {
service.save(product);
}Using @PostMapping annotation, this method handles only HTTP POST request. And type the following command to test:curl -X POST -H "Content-Type: application/json" -d "{\"name\":\"XBox 360\",\"price\":299.99}" http://localhost:8080/productsCheck the database in MySQL Workbench and you should see a second row was inserted.For validating data in the request's body, refer to this article: Spring Boot REST API Request Validation ExamplesNOTE: if the creation operation is successful, the API should return HTTP status 201 Created. For details, check this article: Spring Boot REST API CRUD with HATEOAS Tutorial
11. Implement RESTful API for Update Operation
Write code for the method that exposes RESTful API for update operation as follows:@PutMapping("/products/{id}")
public ResponseEntity<?> update(@RequestBody Product product, @PathVariable Integer id) {
try {
Product existProduct = service.get(id);
service.save(product);
return new ResponseEntity<>(HttpStatus.OK);
} catch (NoSuchElementException e) {
return new ResponseEntity<>(HttpStatus.NOT_FOUND);
}
}The @PutMapping annotation specifies that this method accepts only HTTP PUT request. If a product found with the given ID, it is updated and the server returns HTTP status OK. If no product found, the HTTP status Not Found (404) is returned.Using curl, type the following command to test updating the product with ID 1:curl -X PUT -H "Content-Type: application/json" -d "{\"id\":1,\"name\":\"iPad\",\"price\":888}" http://localhost:8080/products/1Type this command to check the update:curl http://localhost:8080/products
12. Implement RESTful API for Delete Operation
Finally, we implement the method that exposes RESTful API for the delete operation as simple as follows:@DeleteMapping("/products/{id}")
public void delete(@PathVariable Integer id) {
service.delete(id);
}And type the following command to test deleting the product with ID 1:curl -X DELETE http://localhost:8080/products/1You should see the row ID 1 removed from the database.NOTE: if the delete operation is successful, the API should return HTTP status code 204 No Content. For details, check this article: Spring Boot REST API CRUD with HATEOAS TutorialCongratulations, you have completed the Spring Boot tutorial about RESTful APIs for CRUD operations with MySQL database. For your reference, you can download the sample project attached below, or clone the sample project code from this GitHub repo.You can also watch the video version of this tutorial below: What's Next? I recommend you follow the next one: Spring Boot REST API CRUD with HATEOAS Tutorial
Recommended Course:
Related Web Services Tutorials:
- Spring Boot Hello World RESTful Web Services Tutorial
- REST API Best Practices: How to Use the Right HTTP Methods and Status Codes
- Spring Boot REST API CRUD with HATEOAS Tutorial
- Spring Boot File Download and Upload REST API Examples
- Java RESTful Web Services Tutorial for Beginner with Jersey and Tomcat
- Java CRUD RESTful Web Services Examples with Jersey and Tomcat
- Spring Boot REST API Request Validation Examples
Other Spring Boot Tutorials:
- Spring Boot Hello World Example
- Spring Boot automatic restart using Spring Boot DevTools
- Spring Boot Form Handling Tutorial with Spring Form Tags and JSP
- How to create a Spring Boot Web Application (Spring MVC with JSP/ThymeLeaf)
- Spring Boot - Spring Data JPA - MySQL Example
- Spring Boot CRUD Example with Spring MVC – Spring Data JPA – ThymeLeaf - Hibernate - MySQL
- How to use JDBC with Spring Boot
- Spring Boot CRUD Web Application with JDBC - Thymeleaf - Oracle
- How to package Spring Boot application to JAR and WAR
About the Author:
 Nam Ha Minh is certified Java programmer (SCJP and SCWCD). He began programming with Java back in the days of Java 1.4 and has been passionate about it ever since. You can connect with him on Facebook and watch his Java videos on YouTube.
| [Spring Boot RESTful CRUD API sample project] | 19 kB |
Comments
creating bean with name 'xxRepository' defined in com.xx.xx.repository.xxRepository defined in @EnableJpaRepositories declared on FindMyAurvadaApiApplication: Not a managed type: class com.xx.xx.entity.xxEntity..
Please help me to fix this
Thanks for the tutorial. It was very helpful!
I noticed one thing that didn't work quite as expected. For the update operation, saving 'product' will just insert a new product. I had to do the following:
existProduct.setProduct_name(product.getProduct_name());
existProduct.setPrice(product.getPrice());
service.save(existProduct);
Then the update went through as expected